
Tags
Butterick #4813, DIY doll clothes, DIY doll dress, DIY reversible doll dress, free reversible doll dress pattern, Liberty print doll dress, life with kids, Stella doll dress, vintage buttons, vintage dress pattern


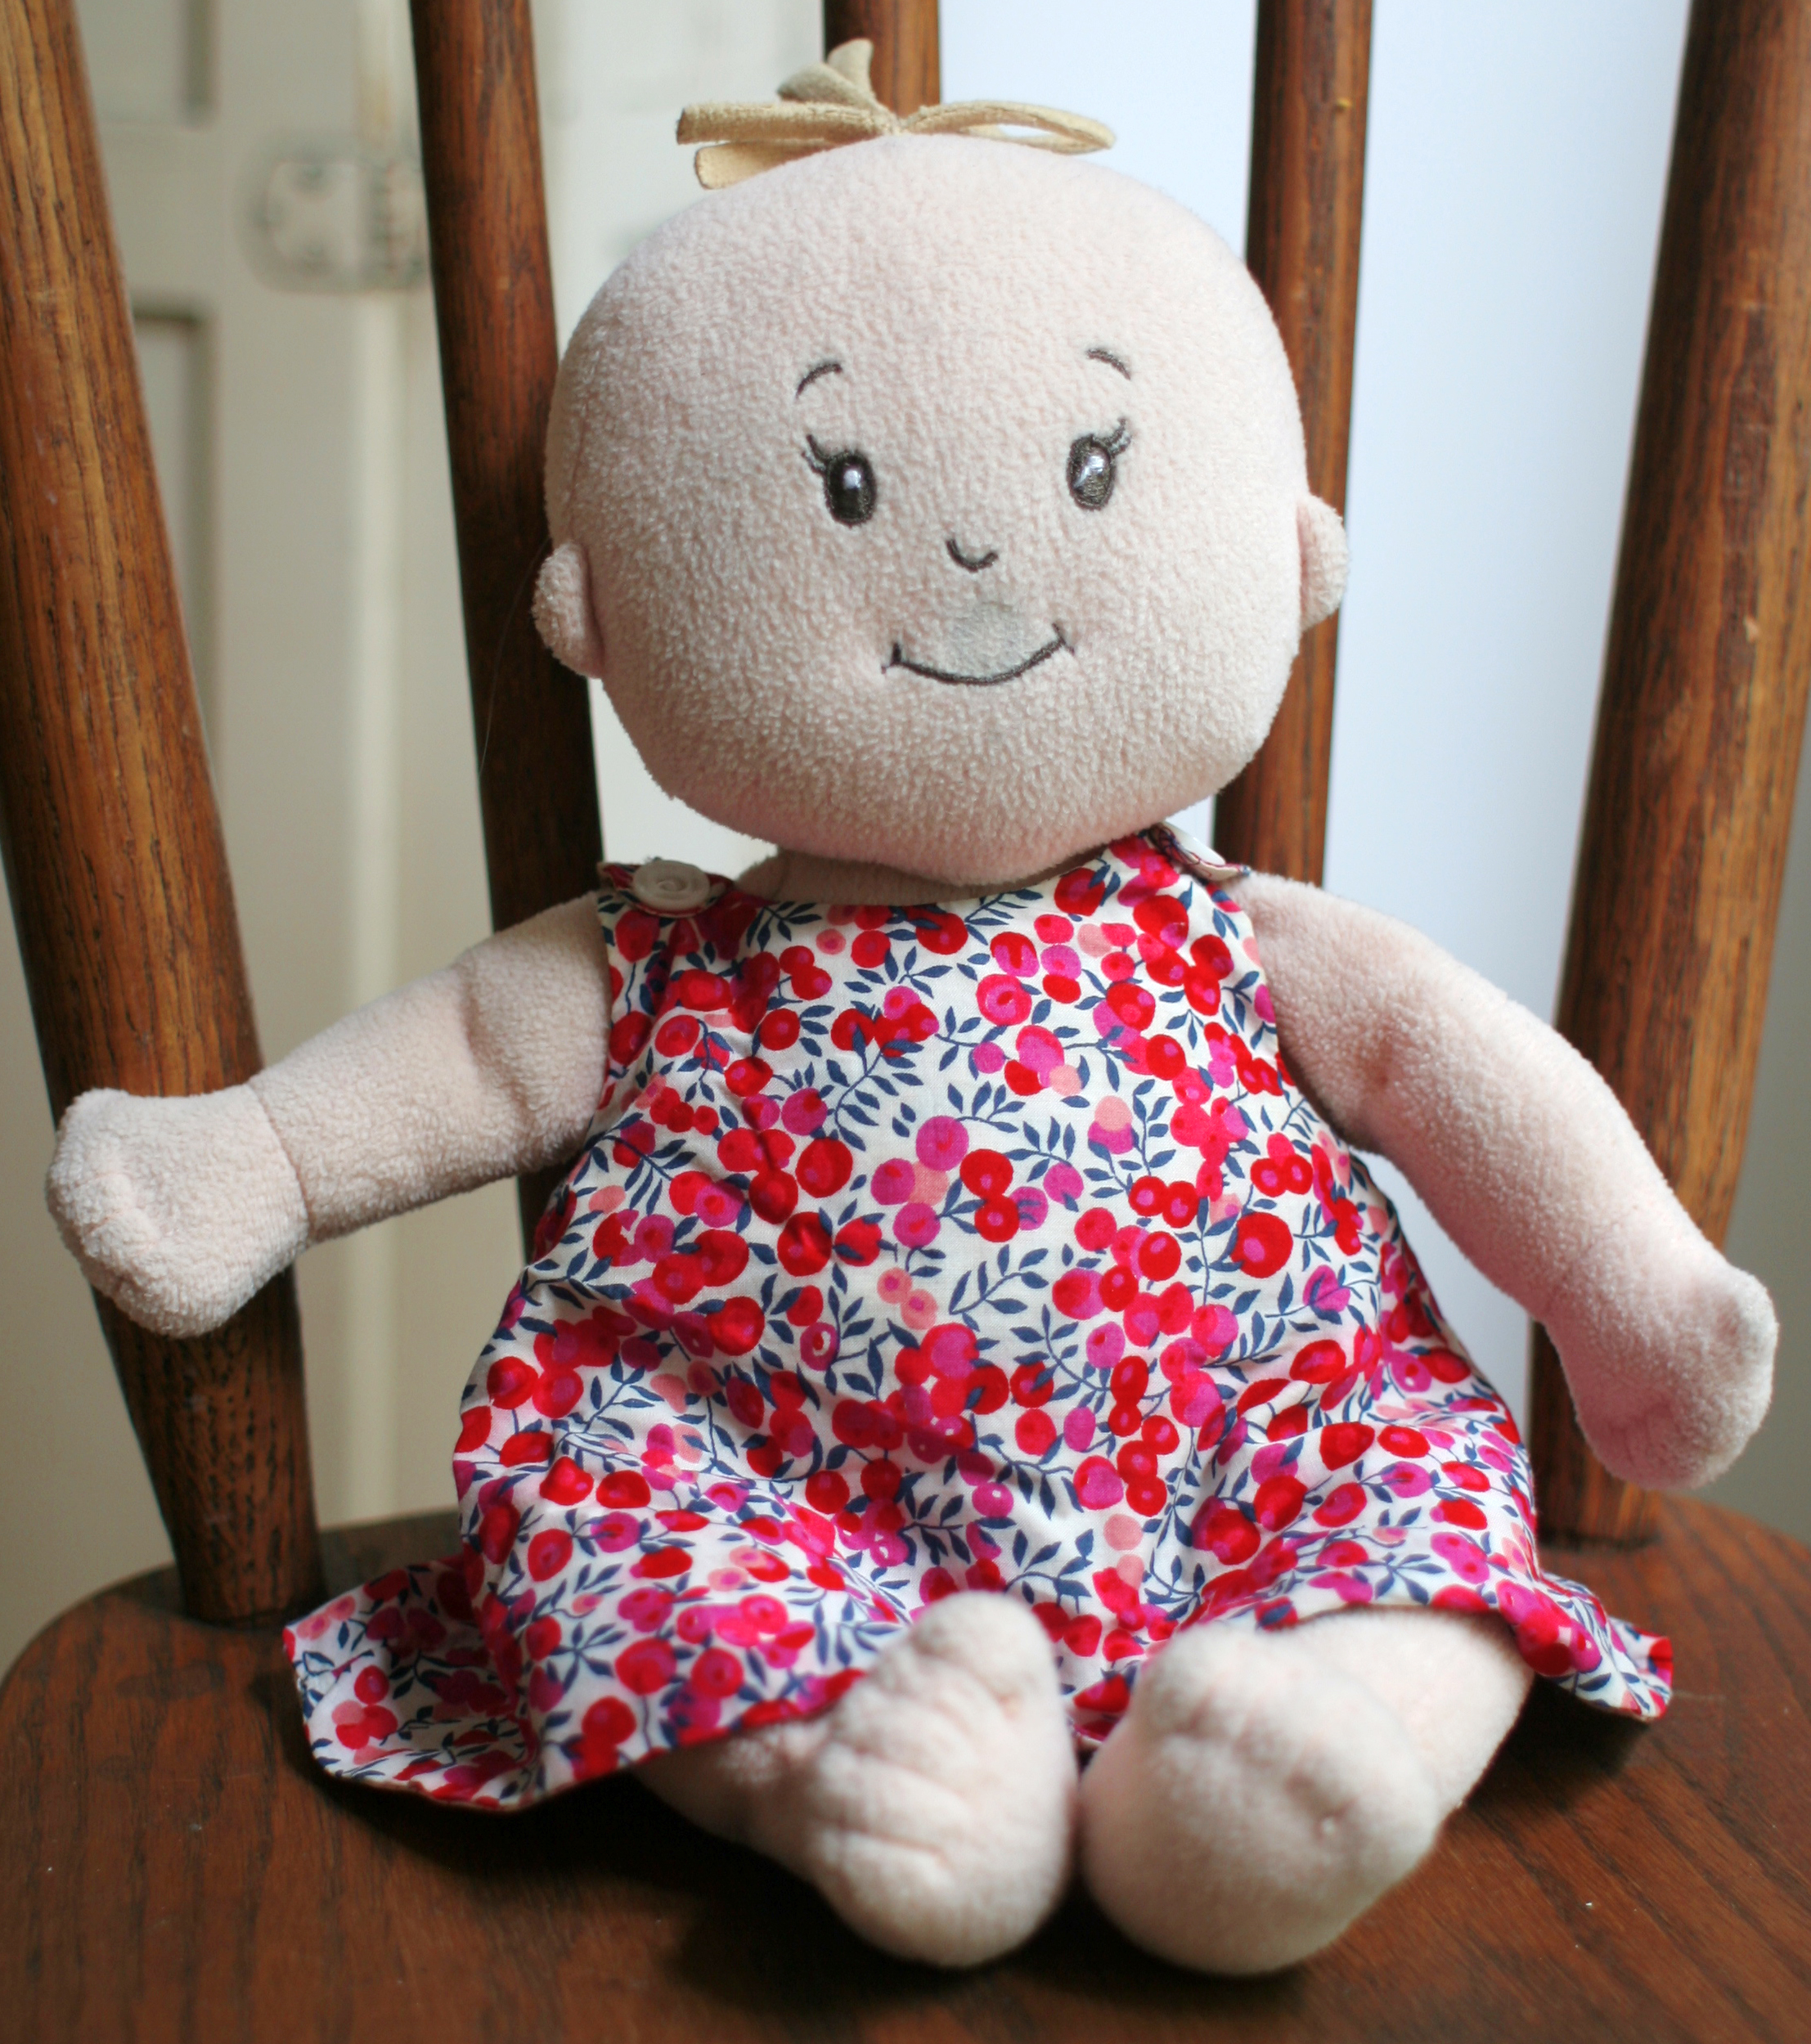
I made a set of these dresses for Ada’s first doll (Baby Stella by Manhattan Toys). The dresses and the doll have been some of the girls’ favorite playthings, so I recently made up another set for our niece. The pattern is based off of a vintage Buttterick #4813. This is a very simple project and a good way to use pretty fabric remnants too small for a child-sized dress. To make your own Reversible Doll Dress you will need:
*Two pieces of fabric (We used less than 1/4 yard per side)
*Four Buttons
*Scissors
*Sewing Machine and Matching Thread
*Paper for Pattern
*Pins
1. Drag pattern to desktop and print to size. Our pattern measures 6 3/4″ along Center Front and Center Back.
2. Fold fabric in half. Position Center Front and Center Back of patterns along fold and pin into place.
3. Cut out Fabric around pattern. Be sure to include notches.
4. Repeat #2 and 3 for second piece of fabric. You should now have two Fronts and two Backs, with a full dress in each fabric.
5. Unpin Pattern from Fabric.
6. Pin together Front and Back of same fabric with right sides facing along Side Seams and sew. (We used a 1/4″ seam allowance). Press open seams and repeat with second fabric.
7. Place two contrasting pieces of fabric right sides together, pin and stitch up along neck, shoulder and armhole edges. Be sure to match notches.
8. Press open seams.
9. Sew in Button Holes at Back Shoulder Straps.
10. Sew Buttons in on both sides of fabric- one on each side. (We used the same thread to sew both buttons at once).
11. Pin Hem and Blind-Stitch by hand.
Enjoy!
