• Our Etsy Store
  • Vintage
  • Projects
  • Organizing
  • Likes
  • About
  • jeannerondeau.com

Domesticspace

~ Inside. kids, art, home, vintage.

Domesticspace

Tag Archives: DIY valentine

DIY Heart Stencil Valentine

29 Wednesday Jan 2014

Posted by jeannerondeau in Projects

≈ Leave a comment

Tags

class Valentines, crayon Valentine, diy kids Valentines, DIY valentine, diy Valentine card, heart stencil, kid Valentines, paper valentine, stencil Valentine, sugar-free Valentine

StencilHeartsOverlap StencilFlowers2 StencilHeartEnvelopes

These Heart Stencil Valentines are simple to make and require only simple supplies to complete.  To make your own you will need:

*Card Stock

*Scissors

*Crayons

*Envelopes (Optional)

1. Fold a piece of card stock in half.

2. Draw half a heart along the crease and cut out.

3. Unfold and you will have a symmetrical heart stencil.  Repeat steps 1-3 to make different size heart stencils.

4. Place stencil on top of blank card, hold firmly in place and rub crayon over the opening, completely filling in the heart shape.

5. Remove stencil and repeat.

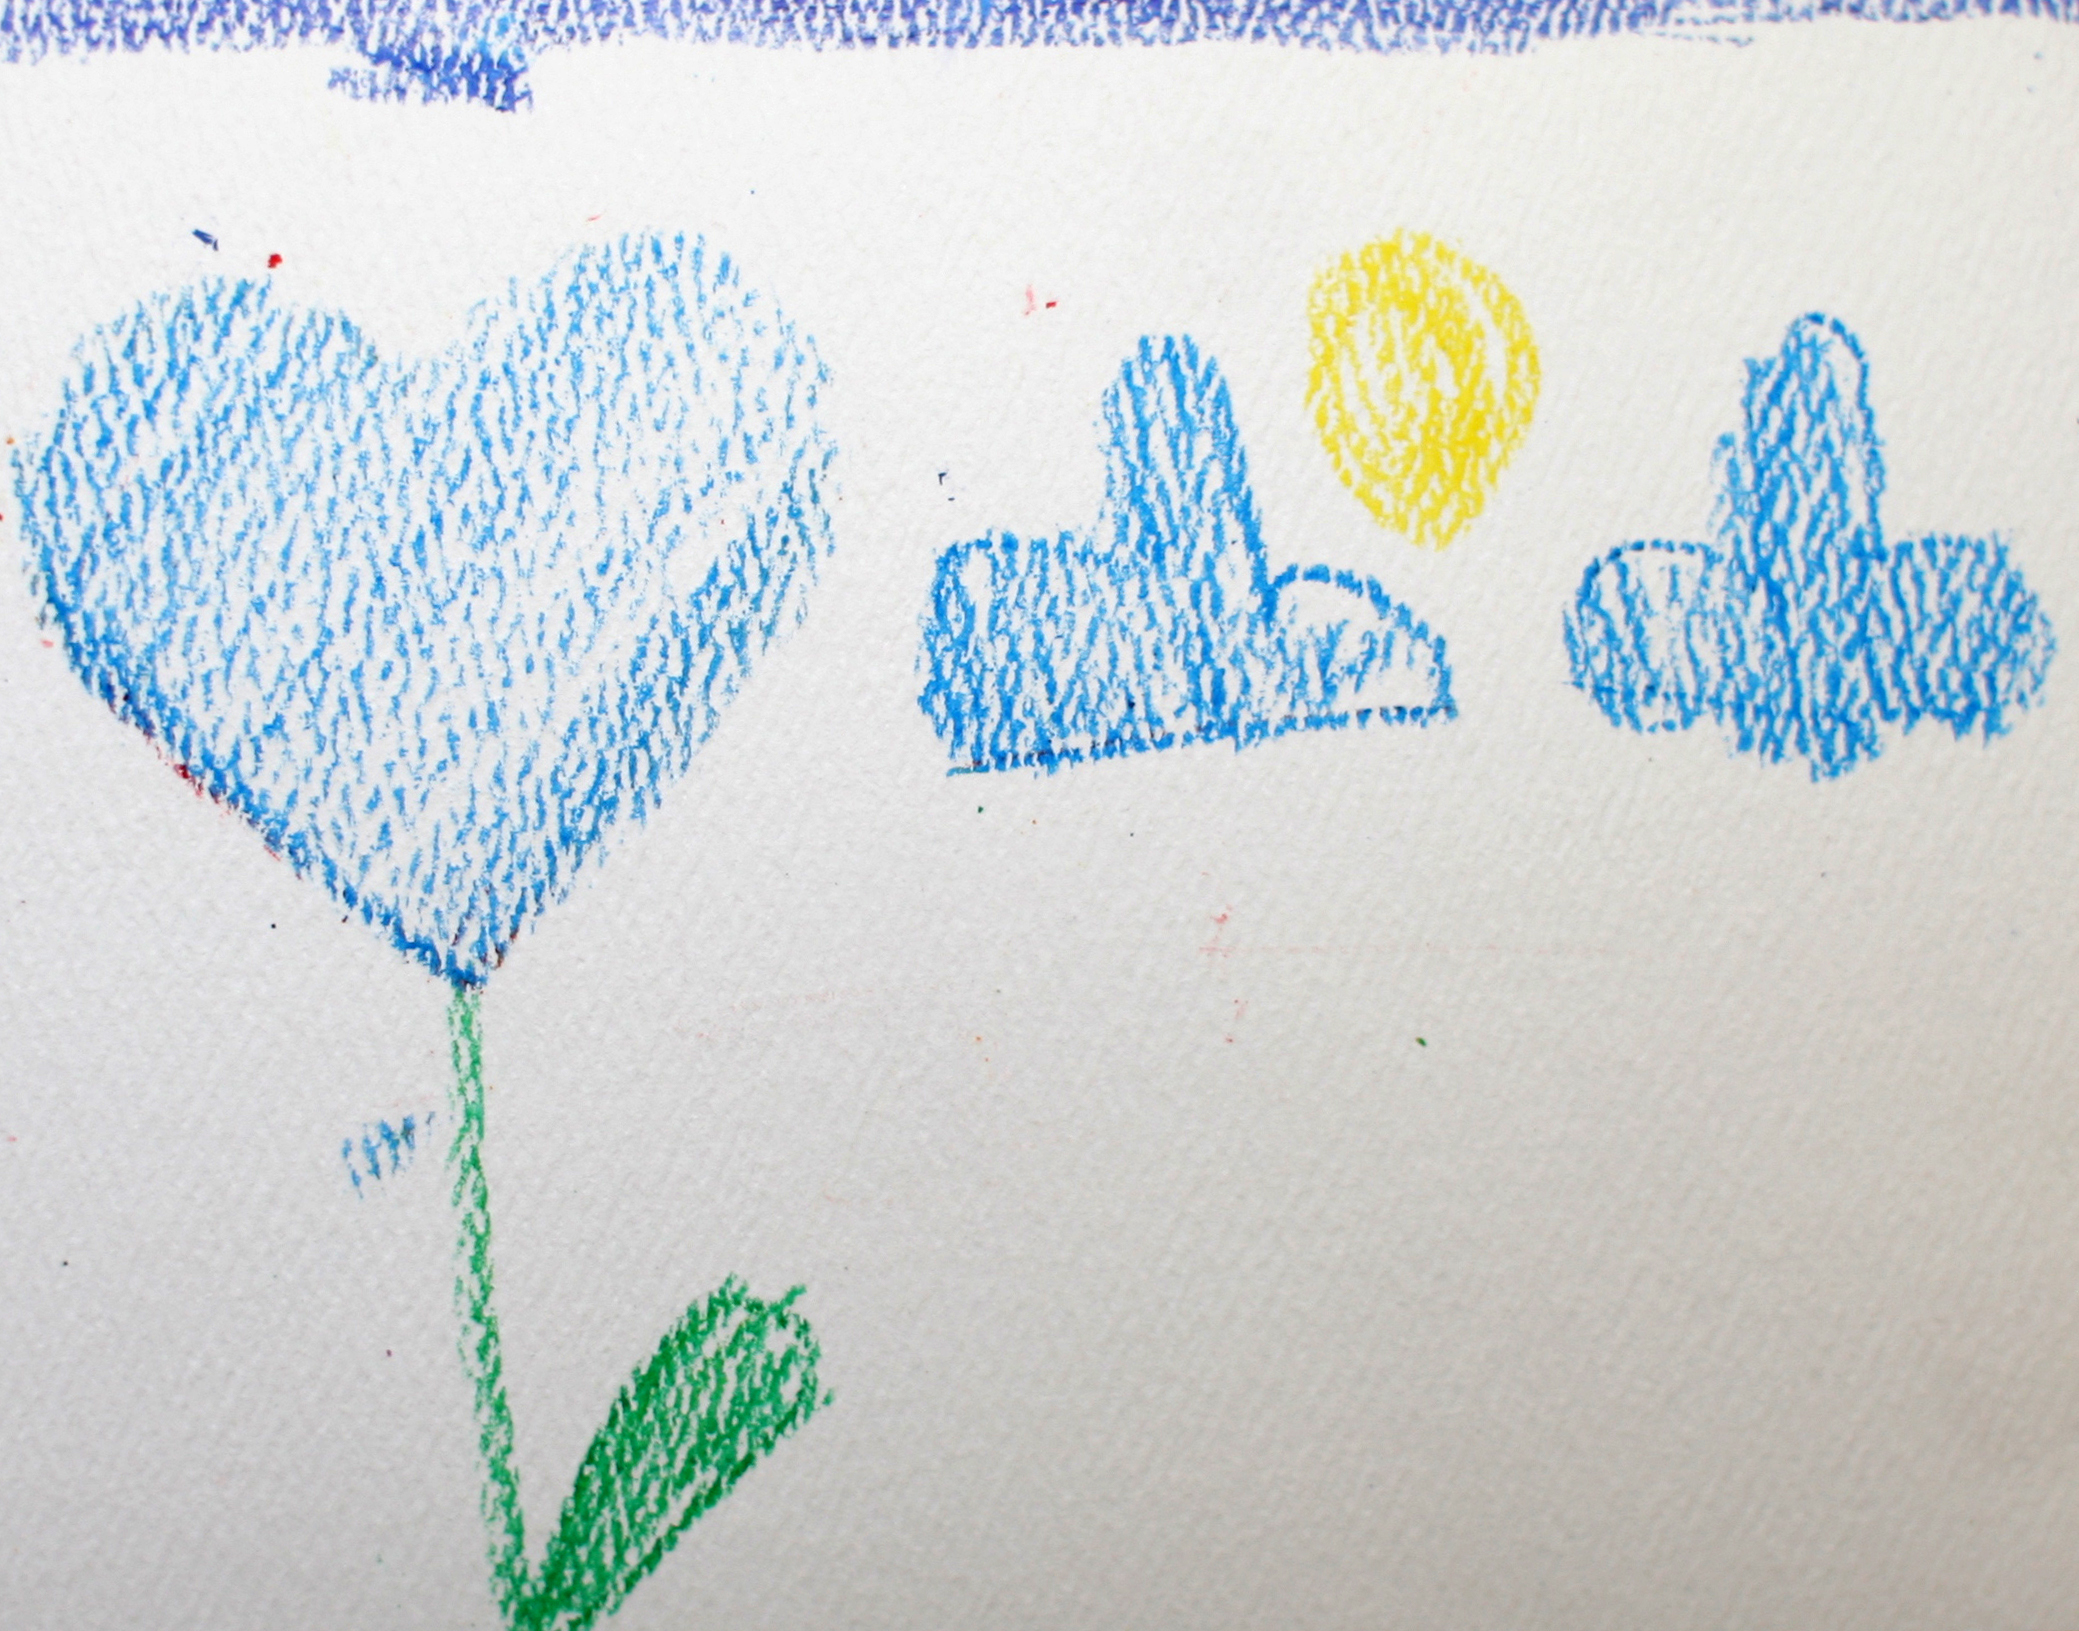
6. We overlapped various size heart stencils and colored them in with different crayons to create a pretty pattern on the first card.  We drew stems and leaves under heart shapes to make a garden of flowers on the second card.

XOXO

StencilHeartStencilHeartFlowerHeartStencil1

Advertisement

Share this:

  • Pinterest
  • Facebook
  • LinkedIn
  • Tumblr
  • Twitter

Like this:

Like Loading...

DIY Framed Crayon Heart Valentine

07 Thursday Feb 2013

Posted by jeannerondeau in Projects

≈ 1 Comment

Tags

crayon valentine card, diy, DIY valentine, diy Valentine card, Framed Crayon Heart Valentine, handmade valentine, heart frame, heart valentine, Valentine's Day craft, Valentines made by kids

CrayonHeart1CrayonHeart2CrayonHeart3CrayonHeart4CrayonHeart6CrayonHeart5This Framed Crayon Heart Valentine starts out with some good old-fashioned scribbling.  The kids, (or adults) can be as messy as they want with the coloring and the frame will contain and define the heart shape.  To make your own Framed Crayon Heart Valentine you will need:

*Crayons in Reds and Pinks

*Card Stock

*Exact-o Knife or Sharp Scissors

*Double-Stick Tape

*Thin Black Marker

1. Cut two pieces of card stock- one to form the card and the other slightly smaller than one side of the folded card.

2. Color one side of the smaller card stock making sure you go all the way to the edges.

3. Fold card in half and draw a heart on the inside front fold.

4. Using an Exact-o or scissors, cut out the heart shape.

5. On the outside of the card draw designs around the heart frame as shown.

6. Place double-stick tape along the inside of the card, around the heart shape.

7. Tape the colored card stock inside card, with coloring facing out through the heart frame.

8. Write your message inside card, place in the envelope and pop in the mail.

*One more week till V-day! XO

Share this:

  • Pinterest
  • Facebook
  • LinkedIn
  • Tumblr
  • Twitter

Like this:

Like Loading...

DIY Conversation Heart Flower Valentine

06 Wednesday Feb 2013

Posted by jeannerondeau in Projects

≈ 2 Comments

Tags

candy valentine, Conversation Heart Valentine, Conversation Hearts, diy, DIY card, DIY valentine, handmade valentine, homemade valentine, Necco

ConvoFlower1ConvoFlower2 ConvoFlower3Conversation Hearts are some of my favorite Valentine’s Day candies.  Choosing the perfect message for someone took up a lot of our time back in grade school around this time of year.  This simple card is made using Conversation Hearts and tiny flowers.  To make your own Conversation Heart Flower Valentine you will need:

*Card Stock

*Envelope

*Conversation Hearts

*Small Flowers

*Pen

*Green Paper

*Craft Glue

*Double-Stick Tape

1. Cut out two rectangles from the card stock, one slightly larger than the other.  These will make the frame for the flowers.

2. Double-stick tape the frames, one inside and on top of the other.  Center frame on card and stick down.

3. Put thin strips of double-stick tape on green paper and cut out leaf shapes.  Pull tape backing from leaves and stick onto frame.

4. Draw stems.

5. Using craft glue, stick on heart and flowers.

6. Allow to dry completely before placing in envelope.

*The bulk of the Conversation Hearts make this card difficult to mail.  It is best delivered by hand.

Share this:

  • Pinterest
  • Facebook
  • LinkedIn
  • Tumblr
  • Twitter

Like this:

Like Loading...

DIY String of Hearts Valentine

05 Tuesday Feb 2013

Posted by jeannerondeau in Projects

≈ 1 Comment

Tags

DIY Glitter Heart String, DIY valentine, glitter heart garland, glitter valentine, paper valentine, Valentine, Valentine DIY, washi tape valentine

HeartString1BHeartString2HeartString3HeartString4HeartString5HeartString6HeartString8This glittery valentine is easy to make and folds flat for mailing.  To make your own String of Hearts Valentine you will need:

*Card Stock

*Scissors

*Hole Punch

*Craft Glue

*Soft Paintbrush

*Wax Paper

*Glitter in Red, White and Pinks

*Twine

*Envelope

*Washi Tape (Optional)

*Permanent Pen (Optional for note writing)

1. Make heart pattern by folding card stock in half, drawing half a heart with center along crease and cutting out with scissors. Make three sizes of hearts, trace onto card stock and cut out.

2. Punch holes in all hearts.

3. Lay hearts out on layer of wax paper.

4. Squirt a layer of glue onto one side of each heart and spread evenly with paintbrush.  Be sure to go all the way to the edges.

5. Generously sprinkle a layer of glitter on to each heart and allow glue to dry, (about an hour).  Hearts may bow with glue moisture, but they will flatten after you glitter both sides.

6. Shake off excess glitter and repeat steps 3-5 for the other side of hearts.  (Extra glitter can be put back into containers at the end by folding wax paper in half and carefully shaking glitter back into jars).

7. Tie dried hearts on to twine. 

8. If you are writing a message, fold washi tape in half along twine and stick back on to itself.  Cut ends in flag shapes as shown and write your note along the tape pieces.  (We wrote ‘Sending Lots of Love!’).

9. Carefully fold up hearts along string to fit inside card, place in envelope and send off to your valentine.

XOXO


Share this:

  • Pinterest
  • Facebook
  • LinkedIn
  • Tumblr
  • Twitter

Like this:

Like Loading...

Visit Our Etsy Store

Etsy Store Instagram

No Instagram images were found.

Categories

  • Brooklyn
  • Inspiration
  • Likes
  • Organizing
  • Our Etsy Store
  • Party!
  • Projects
  • Shop
  • Uncategorized
  • Vintage

Recent Posts

  • Visit Us at the Brooklyn Flea!
  • Inspiration
  • Inspiration
  • Winter Whites
  • Ocean Grove, NJ

Archives

Enter your email address to follow this blog and receive notifications of new posts by email.

Join 184 other subscribers

Blogs I Read

  • A Beautiful Mess
  • Anthology Magazine
  • Apartment Therapy Family (Ohdeedoh)
  • Bleubird Vintage
  • Katie's Pencil Box
  • Le Dans La
  • Making it Lovely
  • Oh Happy Day!
  • Oh My Little Dears
  • Purl Bee
  • Soulemama
  • Sweet Paul Magazine
  • The Sweetest Occasion
  • You Are My Fave

Copyright

All content is © 2010-2018 Jeanne Rondeau. Please do not copy or take images or content from this site without my permission. Requests may be sent to: jeanne@jeannerondeau.com Thank you!

Meta

  • Register
  • Log in
  • Entries feed
  • Comments feed
  • WordPress.com

Blog at WordPress.com.

Privacy & Cookies: This site uses cookies. By continuing to use this website, you agree to their use.
To find out more, including how to control cookies, see here: Cookie Policy
  • Follow Following
    • Domesticspace
    • Join 179 other followers
    • Already have a WordPress.com account? Log in now.
    • Domesticspace
    • Customize
    • Follow Following
    • Sign up
    • Log in
    • Report this content
    • View site in Reader
    • Manage subscriptions
    • Collapse this bar
 

Loading Comments...
 

    %d bloggers like this: