• Our Etsy Store
  • Vintage
  • Projects
  • Organizing
  • Likes
  • About
  • jeannerondeau.com

Domesticspace

~ Inside. kids, art, home, vintage.

Domesticspace

Monthly Archives: July 2013

Welcome Baby Dare

31 Wednesday Jul 2013

Posted by jeannerondeau in Inspiration

≈ 7 Comments

Tags

birth at home, castor oil, home, home birth, life with baby, life with kids, midwife, new baby, three sisters

Dare1
Sorry for the radio silence around here lately.  It has been a busy two weeks: Ada turned five, we had our annual block party and two birthday parties AND -best of all – we had a baby girl!

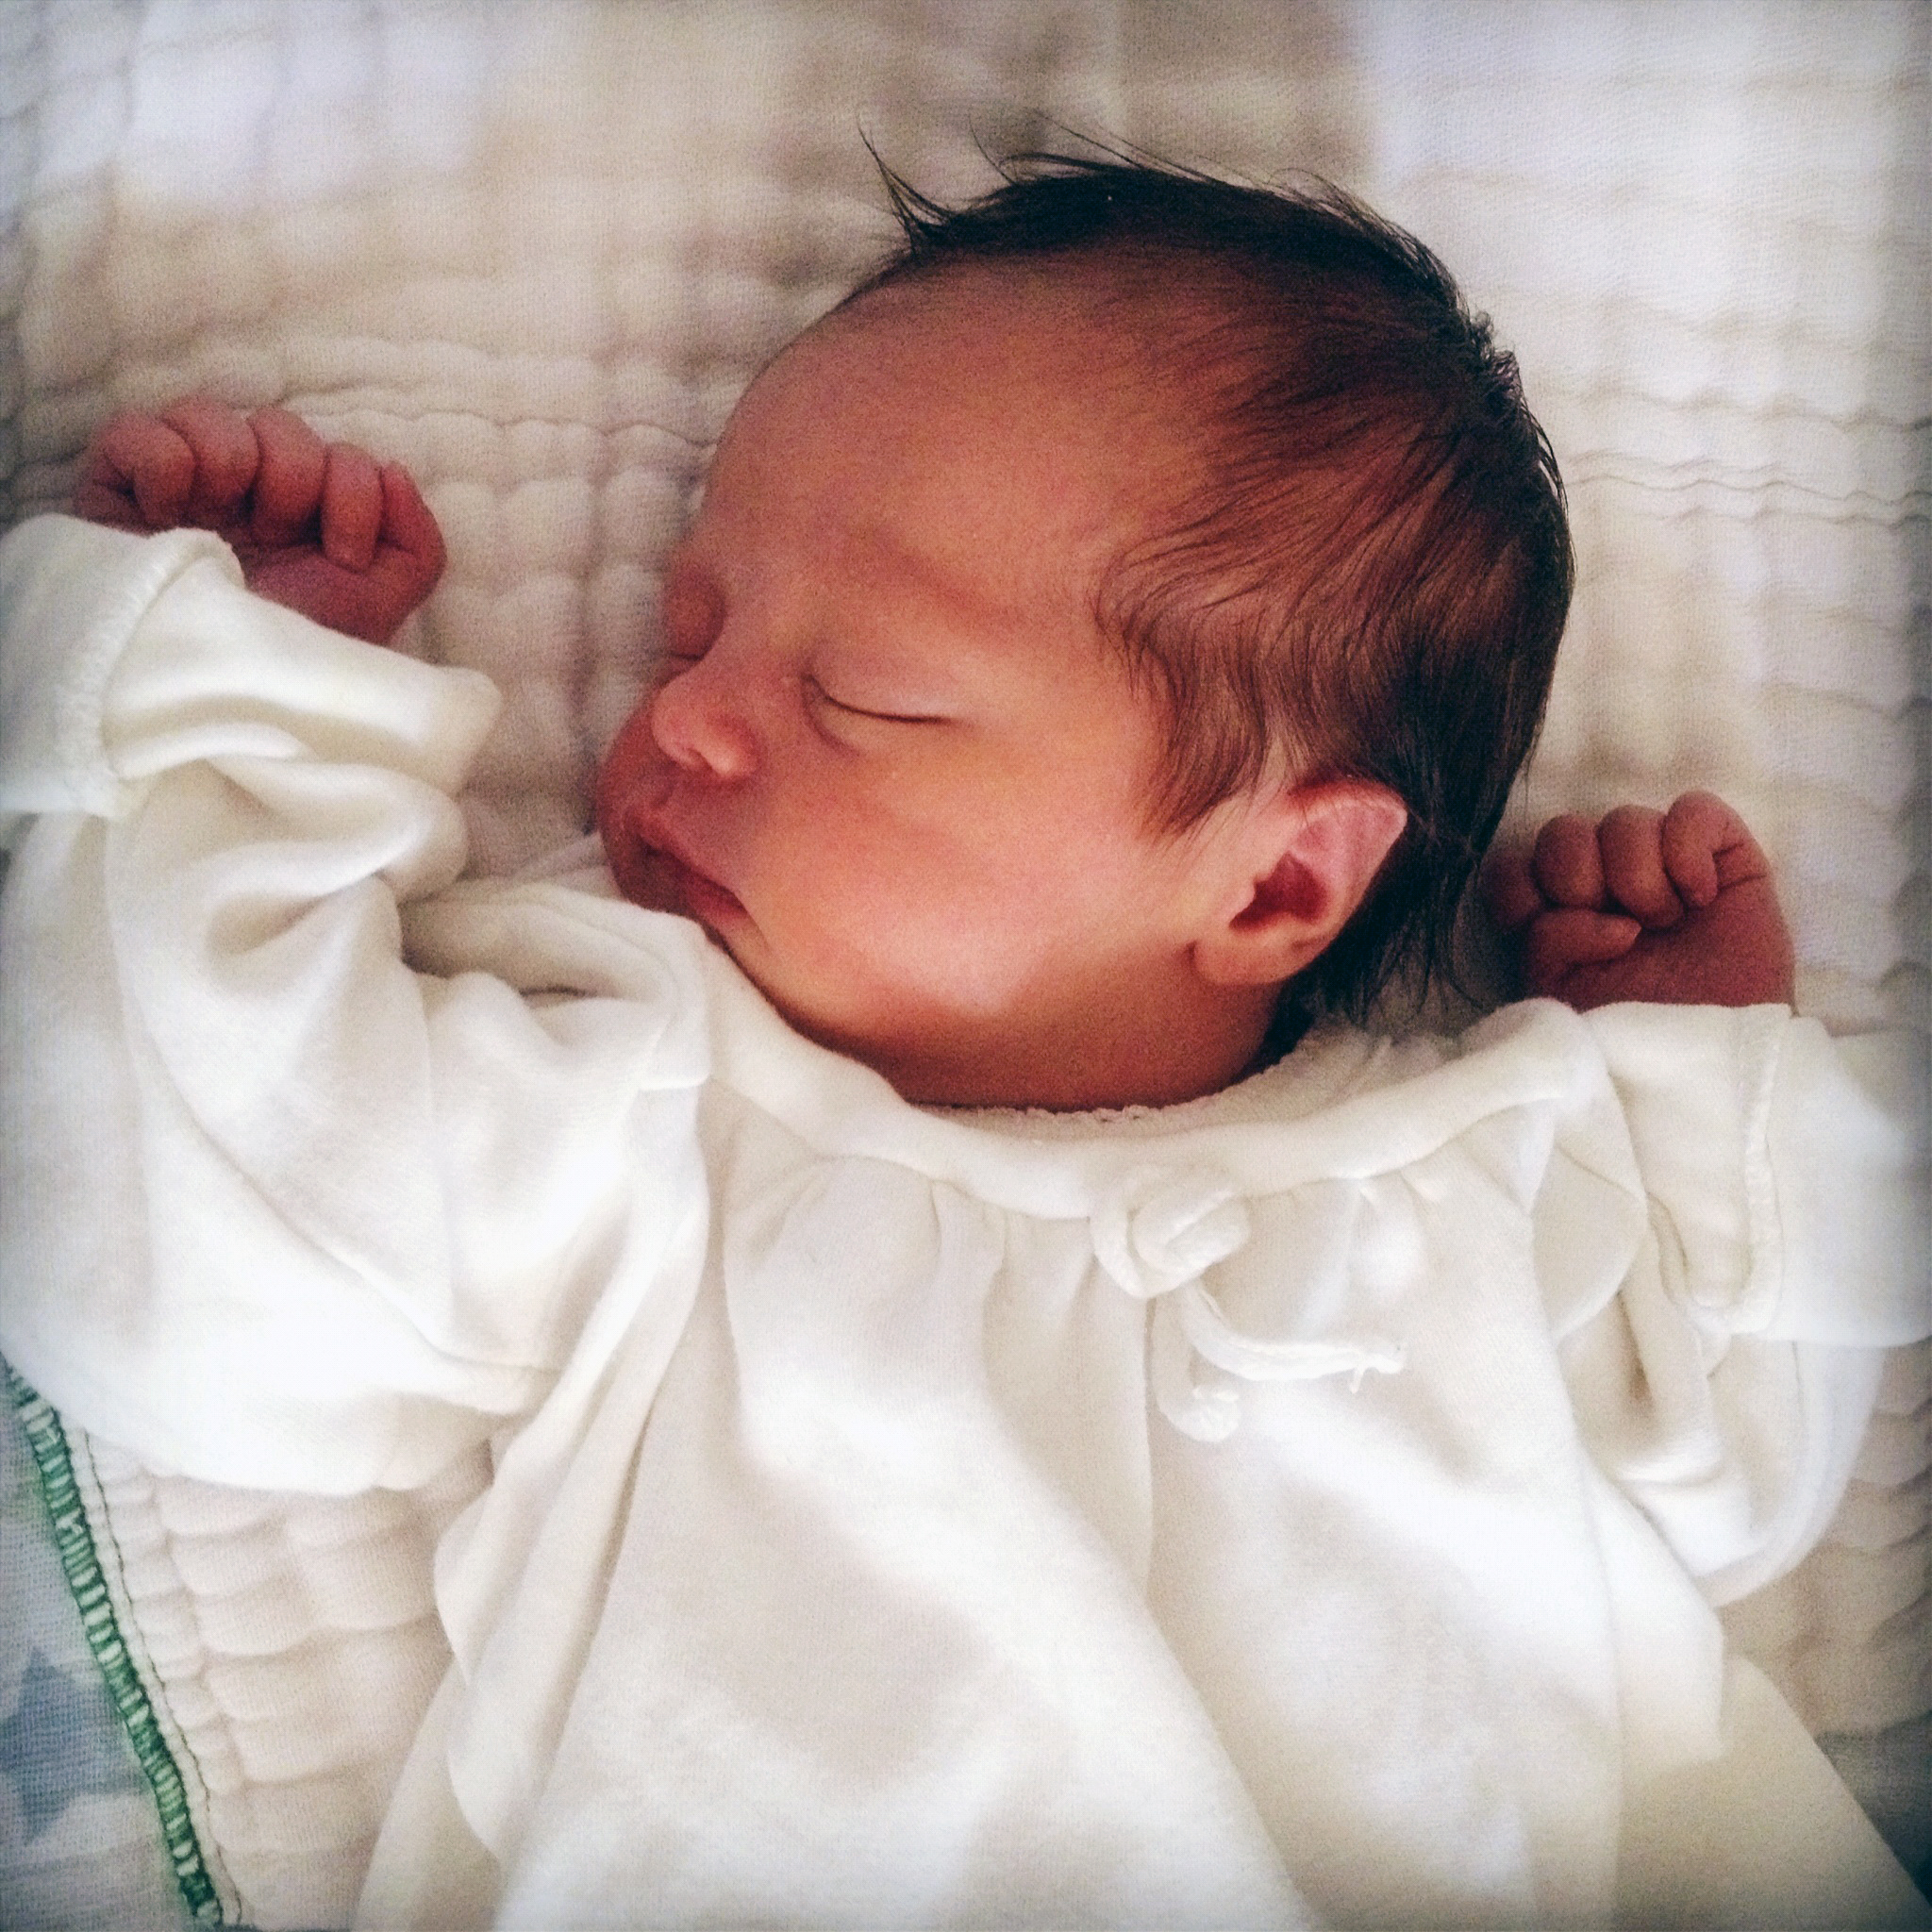
Dare was born at home at 12:50 on July 26.  She weighed 6 lbs 12 oz and was 19 3/4 inches long.  She is doing really well and already feels like she’s always been part of the family.

Chris and I have had all of our children at home, and we expected this third birth to be a relatively easy one.  We assumed that we knew what we were doing and we were lucky to have our same beloved midwife for the birth of Dare.  Thank you Joan!  But…babies and children have a way of reminding us that we have little control over our lives.  I was convinced that the baby was coming for an entire week before her birth and kept making Chris stay home for work.  I visited the acupuncturist two times to move things along, to no avail.  A slow leak put us on a path of castor oil and breaking my bag of water, and Dare decided to join us sunny-side-up which made labor and pushing much harder than the previous two births.  When we and the midwife made the decision to get labor going on July 25, Ada cried all the way home saying she didn’t want to share her birthday.  (Little Dare graciously held out for minutes past Ada’s day).  Ultimately all was successful.  Dare kept her heart rate up and worked as hard as I did to join the world.  My mother-in-law was a champ downstairs taking care of the girls and waiting through loud noises above.  When Dare was finally out (thank goodness!!), we had to shake Ada awake.  She had fallen asleep on our bed five feet away from my loudness, and missed the entirety of the pushing.  Both Ada and Josie woke up and smiled to meet their new sister.  My mother-in-law Pat cut the cord.  We toasted and I ate a grilled cheese sandwich.  (We have never had a baby at night, and it was too late for my usual post-labor Indian takeout).

So, here we are a family of five.  Three girls.  Dare has double big sisters.  She is a lucky lucky girl.  I am feeling so so happy to no longer be pregnant in August.  We are settling in to life with this new little creature,  feeling sleepy and happy and blessed.Dare2

Share this:

  • Share on Pinterest (Opens in new window) Pinterest
  • Share on Facebook (Opens in new window) Facebook
  • Share on LinkedIn (Opens in new window) LinkedIn
  • Share on Tumblr (Opens in new window) Tumblr
  • Share on X (Opens in new window) X
Like Loading...

Inspiration

19 Friday Jul 2013

Posted by jeannerondeau in Inspiration

≈ Leave a comment

Tags

backyard bees, bearding bees, bees cooling hive, blanket fort, Inspiration, Instagram, life with kids, nesting, summer in Brooklyn

Inspiration39
I feel like a broken record, but it is HOT here.  We spend a good deal of time sitting in the little pool, watering the garden and eating popsicles.  We are hoping our beach day tomorrow stays rain-free, but the rain should feel free to visit any other time.

Here are some Instagrams from the week:

*Kiddie Pool and Drying Diapers

*Ada’s Letter Practice

*Swaddle Blankets, Washed and Stacked

*Josie’s Potty Chart, by Ada

*Blanket Fort (With Newly Unstacked Swaddle Blankets)

*Hot Bees, Bearding to Cool the Hive

Have a Happy Weekend!

Share this:

  • Share on Pinterest (Opens in new window) Pinterest
  • Share on Facebook (Opens in new window) Facebook
  • Share on LinkedIn (Opens in new window) LinkedIn
  • Share on Tumblr (Opens in new window) Tumblr
  • Share on X (Opens in new window) X
Like Loading...

Nesting

16 Tuesday Jul 2013

Posted by jeannerondeau in Projects

≈ 2 Comments

Tags

early labor, home birth, housekeeping, life with kids, nesting, pre labor, vivid images pre-labor, waiting for labor

Nest
On Sunday I cleaned the entire house, wrapped birthday presents, painted two staircases and a bathroom, unpacked and washed the baby clothes and checked on the bees.  I almost reupholstered our dining room chairs, but decided that would be a bit much.  Today my washing machine stopped working, forcing me to take a much-needed nap instead of hanging out more laundry to dry on the line.  I always know the pre-baby nesting will happen, but still never cease to be amazed at the crazy burst of energy and cleaning power that happens as birth moves closer.  I sill remember watching my mother go through this with her last pregnancy, until her water broke on the hill leading to our house and she was forced to surrender the barn cleaning for another day.  I have noticed that the world seems beautiful and sort of sparkly to me during the last few days before labor.  All of this is mysteriously and comfortably out of my control.  So now the house is clean, the birthing tub is here, the grocery shopping is done…Now we can do nothing but knit and read and eat and wait for this little person to come out and meet us.

Share this:

  • Share on Pinterest (Opens in new window) Pinterest
  • Share on Facebook (Opens in new window) Facebook
  • Share on LinkedIn (Opens in new window) LinkedIn
  • Share on Tumblr (Opens in new window) Tumblr
  • Share on X (Opens in new window) X
Like Loading...

Inspiration

12 Friday Jul 2013

Posted by jeannerondeau in Inspiration

≈ Leave a comment

Tags

Brooklyn Botanic Garden, Brooklyn Museum, DIY paper tassels, El Anatsui, frozen grapes, Inspiration, Instagram, life with kids, party decorations, tulle for party

Inspiration
Happy Friday!

Here are some Instagrams from the last two weeks:

*El Anatsui Show at Brooklyn Museum

*Josie, Looking for Fish at Brooklyn Botanic Garden

*Crazies Playing with Tulle for Ada’s Party

*Sleepy Josie on Gram’s Quilt

*Party Prep for Clementine

*Patriotic Storage Space

*El Anatsui

*Dining Room

*Frozen Grape Snack

Have a great weekend!

Share this:

  • Share on Pinterest (Opens in new window) Pinterest
  • Share on Facebook (Opens in new window) Facebook
  • Share on LinkedIn (Opens in new window) LinkedIn
  • Share on Tumblr (Opens in new window) Tumblr
  • Share on X (Opens in new window) X
Like Loading...

DIY Paper Streamers – Two Ways

10 Wednesday Jul 2013

Posted by jeannerondeau in Party!, Projects

≈ Leave a comment

Tags

bright paper decorations, crepe paper, crepe paper decorations, DIY Paper Garland, DIY paper streamers, diy party, easy party decorations, paper party decorations, paper streamers, tissue paper

Paper1
Paper2
Paper3 Paper6Paper7 Paper8 Paper10It is birthday season in our family, and I am always searching for new decoration ideas for the parties.  We made up these two versions of paper garlands which are machine-stitched down the center for extra strength.  The stitching will allow us to reuse them for a few of the birthdays before summer ends.  Bright paper decorations always make a party seem more festive, and these garlands are very simple and inexpensive to make up.  To make your own Paper Garlands you will need:

For Ruffled Streamers:

*Various Colored Rolls of Streamers (We had these left over from the Surprise Balls we made for Easter)

*Sewing Machine

*Contrasting Thread

1. Unwind a bit of streamer and stitch down the center, leaving a long tail at the beginning and end for hanging.  We used a #3 straight stitch.

2. Continue to unwind the streamer roll as the machine takes up the paper.  Work the stitch all the way through the roll, or to your desired length.

3. The stitching causes the streamer to ruffle as goes along.  (You could also try stitching a thinner streamer down the center for another layer of color).

4. Gently twist to hang.

For Fringe Garland:

*Crepe Paper in Various Colors (We had this Crepe form Paper Mart left over from our Flower Crowns and Crepe Paper Flower Hat)

*Scissors

*Sewing Machine

*Contrasting Thread

1. Cut Crepe Paper into 5″sections, against the grain.

2. Gently stretch each section out with your hands.

3. Unfold Crepe and stitch through the length of the center using your sewing machine.  We used a #3 straight stitch.  Leave a long tail of thread at the beginning and end for hanging.  (You could also try sewing a thinner strip of Crepe down the center to add another layer of color).

4. Using Scissors, snip fringe into both sides of the stitched Crepe.  Be careful not to cut the stitches.

5. Unfold and gently twist to hang.

Happy Party!

You may also like these Paper Party Decorations:
Coffe Filter Flowers Fireworks5Clementine12 Tassels3

Share this:

  • Share on Pinterest (Opens in new window) Pinterest
  • Share on Facebook (Opens in new window) Facebook
  • Share on LinkedIn (Opens in new window) LinkedIn
  • Share on Tumblr (Opens in new window) Tumblr
  • Share on X (Opens in new window) X
Like Loading...

DIY Bubble Solution

09 Tuesday Jul 2013

Posted by jeannerondeau in Projects

≈ Leave a comment

Tags

back yard toys, bubbles, DIY bubble solution, giant bubble solution, life with kids, make your own bubble refills, make your own bubbles, summer toys for kids, Sweet Paul Magazine

Bubbles1
Bubbles2Bubbles
Ada and Josie go through a lot of bubbles.  I got tired of buying a new bottle every week and wanted to try making our own bubble solution.  I found a great recipe in my new favorite magazine, Sweet Paul.  (How is it that I hadn’t discovered this beautiful magazine until recently?!)  Paul’s recipe for giant bubbles makes a large amount of bubble solution, which should last us for at least a few weeks around here.   We haven’t yet made the wand to produce giant bubbles, but the solution is perfect for refilling our numerous small containers.  This DIY refill solution works out to be much cheaper than buying individual bottles.  I used scented dish detergent and the long-lasting bubbles even smell nice.  Hooray for summer!

Share this:

  • Share on Pinterest (Opens in new window) Pinterest
  • Share on Facebook (Opens in new window) Facebook
  • Share on LinkedIn (Opens in new window) LinkedIn
  • Share on Tumblr (Opens in new window) Tumblr
  • Share on X (Opens in new window) X
Like Loading...

DIY Popsicle Party Invitations

08 Monday Jul 2013

Posted by jeannerondeau in Party!, Projects, Uncategorized

≈ 1 Comment

Tags

birthday party for kids, crafts for kids, DIY party invitation, DIY popsicle cards, DIY popsicle invitation, kids summer party, make your own popsicles, Popsicle birthday party, Popsicle card, summer birthday party

Popsicles1
Popsicles1B
Popsicles2
Popsicle3
Popsicles4

We came up with these invites for Ada’s birthday this year.  She requested popsicles for the guests to eat at the party, so we wanted to make matching invitations.  (I found the cutest popsicle sticks on Etsy and can’t wait for them to arrive so we can start popsicle production!)  We made two versions of the invitations – one using tissue paper and one using washi tape.  Both are simple to make and Ada helped put on the stripes.  To make your own Popsicle Party Invitations you will need:

*Card Stock

*Scissors

*Pencil

*Washi Tape in Various Colors

*Tissue Paper in Various Colors

*Double-Stick Tape

*Craft Glue

*Small Popsicle Sticks

*Vellum Envelopes

1. Fold a piece of card stock in half.

2. Draw half a popsicle shape along the fold.

3. Cut out and unfold to make a whole, symmetrical popsicle pattern.

4. Trace pattern onto card stock and cut out.  You will need two popsicle shapes for each card.

5a. For tissue paper version: put double-stick on to one side of card stock.

6a. Cut out stripes of tissue in various colors and stick onto double tape.

7a. Trim edges of overhanging tissue and tape with scissors.

5b. For washi tape version: Stick stripes of tape onto card stock popsicle.

6b. Trim edges of overhanging tape with scissors.

8. Place popsicle stick between decorated popsicle shape and blank popsicle shape.

9. Glue stick to card stock and two halves of card stock together.

10. Place popsicle cards under some books to press while they dry.

11. Print out party details and affix with washi tape to the back of popsicle.

12. Put invites into envelope and put on a pretty stamp.  (I love these stamps!)

Hooray for summer!

Here are some other cool summer treat-related posts:
Popsicles1
StripeyPops
KnitIceCream
IMG_1324

Share this:

  • Share on Pinterest (Opens in new window) Pinterest
  • Share on Facebook (Opens in new window) Facebook
  • Share on LinkedIn (Opens in new window) LinkedIn
  • Share on Tumblr (Opens in new window) Tumblr
  • Share on X (Opens in new window) X
Like Loading...

DIY Paper Kites

03 Wednesday Jul 2013

Posted by jeannerondeau in Projects, Uncategorized

≈ Leave a comment

Tags

diy kite, DIY paper kite, DIY projects for kids, German kite paper, How to make a paper kite, life with kids, paper kites for kids

Kites10Kite10

Kites3

Kites4

Kites5

Kites6

Kites9

Kites9B

Kites8

Kites9

Kite7

We finally got around to making kites with the pretty German Kite Paper I found in Maine a few months ago.  The girls did most of the gluing, so although our kites look pretty, but are not the most aerodynamic of flying machines.  Ada and Josie like to run around the yard with them nevertheless, and the kites make colorful wall decorations when not in use.  To make your own Paper Kite you will need:

*Kite Paper (We got ours at Circa Home in Portland Maine.  Here are some other sources: 1, 2, 3)

*Craft Glue

*Two Thin, Lightweight Sticks or Dowels (We used twigs from Nan’s back yard)

*String

*Lightweight Ribbons for the Tail (We used Seam Binding)

*Scissors

1. Cross sticks (one larger than the other to make a diamond),  and tie with string.

2. Wrap string around four corners of the diamond, gently pull taught and tie.

3. Cut, wrap and glue kite paper around diamond shaped frame.  We glued our seams shut as well.  Be sure to wrap edges and secure around the string at the edges. (Larger paper and less glue would make the kites lighter).

4. Decorate with cut out kite paper shapes.

5. Allow glue to dry.

6. Tie tail ribbons together and cut to desired length.

7. Gently push knot of tail between bottom long stick and kite paper.

8. Put a bit of glue between kite tail and stick.  Wrap string around tail knot and tie.

9. Tie string in upside-down T shape between ends of the short stick and the top of the diamond shape.

10. Go to a windy spot and let the kids run!

Share this:

  • Share on Pinterest (Opens in new window) Pinterest
  • Share on Facebook (Opens in new window) Facebook
  • Share on LinkedIn (Opens in new window) LinkedIn
  • Share on Tumblr (Opens in new window) Tumblr
  • Share on X (Opens in new window) X
Like Loading...

DIY Ginger Rhubarb Soda

01 Monday Jul 2013

Posted by jeannerondeau in Projects

≈ 1 Comment

Tags

CSA recipe, CSA rhubarb, diy ginger rhubarb soda, DIY ginger rhubarb syrup, DIY soda, homemade soda, rhubarb cocktail, rhubarb soda, rhubarb syrup, summer drink recipe

RhurbarbSoda
I have to admit that I hate rhubarb.  I never understood why people get excited about rhubarb season.  I am sure there are good strawberry rhubarb pies out there, but I much prefer cherry.  I was contemplating what to do with a bunch of rhubarb that Chris neglected to switch into the CSA swap box a couple of weeks ago when our friend Linsey stopped by.  Linsey happened to have memorized a recipe for ginger rhubarb soda and promptly whipped up a batch with the unwanted stalks.  I was skeptical, but the resulting pink syrup was delicious when mixed with tonic.  I have since made some batches on my own and secretly hoarded them away from Josie, (aka the girl who eats olives, pickles and now apparently rhubarb).  I have to admit, I was sad this weekend when our CSA was out of rhubarb.  Here is Linsey’s recipe:

*1 lb Rhubarb (washed and cut into 1″ pieces)

*3 Cups water

*1/3 Cup Sugar

*Juice of 1 Lime

*1 Tablespoon or More of Fresh Ginger, peeled and roughly chopped (We added extra and used a 1″ piece)

1. Add the rhubarb and water in a medium size saucepan on medium/heat. Once it boils, turn down heat and simmer uncovered for about 20 or 30 minutes or until rhubarb starts to fall apart.

2. Run the mixture through a fine sieve and push all of the liquid into a bowl. Be careful not to burn your fingers!

3. Put the liquid back on the stove, add sugar, ginger and squeeze in the lime juice.  Bring to a boil and then back to a simmer for about 20 or 30 minutes.  When the mixture slightly thickens, strain the chunks of ginger out and then let cool.  Be sure not to cook too much, as the liquid will continue to thicken as it cools.

4. Pour the syrup into a heat-resistant bottle and allow to cool in the fridge.

5. Combine syrup with tonic or soda water to taste.  Ginger Rhubarb Soda also makes a great cocktail.

Thanks Linsey!

Share this:

  • Share on Pinterest (Opens in new window) Pinterest
  • Share on Facebook (Opens in new window) Facebook
  • Share on LinkedIn (Opens in new window) LinkedIn
  • Share on Tumblr (Opens in new window) Tumblr
  • Share on X (Opens in new window) X
Like Loading...

Visit Our Etsy Store

Etsy Store Instagram

No Instagram images were found.

Categories

  • Brooklyn
  • Inspiration
  • Likes
  • Organizing
  • Our Etsy Store
  • Party!
  • Projects
  • Shop
  • Uncategorized
  • Vintage

Recent Posts

  • Visit Us at the Brooklyn Flea!
  • Inspiration
  • Inspiration
  • Winter Whites
  • Ocean Grove, NJ

Archives

Enter your email address to follow this blog and receive notifications of new posts by email.

Join 179 other subscribers

Blogs I Read

  • A Beautiful Mess
  • Anthology Magazine
  • Apartment Therapy Family (Ohdeedoh)
  • Bleubird Vintage
  • Katie's Pencil Box
  • Le Dans La
  • Making it Lovely
  • Oh Happy Day!
  • Oh My Little Dears
  • Purl Bee
  • Soulemama
  • Sweet Paul Magazine
  • The Sweetest Occasion
  • You Are My Fave

Copyright

All content is © 2010-2018 Jeanne Rondeau. Please do not copy or take images or content from this site without my permission. Requests may be sent to: jeanne@jeannerondeau.com Thank you!

Meta

  • Create account
  • Log in
  • Entries feed
  • Comments feed
  • WordPress.com

Create a free website or blog at WordPress.com.

Privacy & Cookies: This site uses cookies. By continuing to use this website, you agree to their use.
To find out more, including how to control cookies, see here: Cookie Policy
  • Subscribe Subscribed
    • Domesticspace
    • Join 179 other subscribers
    • Already have a WordPress.com account? Log in now.
    • Domesticspace
    • Subscribe Subscribed
    • Sign up
    • Log in
    • Report this content
    • View site in Reader
    • Manage subscriptions
    • Collapse this bar
 

Loading Comments...
 

    %d