• Our Etsy Store
  • Vintage
  • Projects
  • Organizing
  • Likes
  • About
  • jeannerondeau.com

Domesticspace

~ Inside. kids, art, home, vintage.

Domesticspace

Tag Archives: diy

DIY Floor Lamp Refresh

13 Thursday Sep 2012

Posted by jeannerondeau in Projects, Shop, Vintage

≈ 7 Comments

Tags

Antique Lamp Supply, diy, DIY lamp, Ebay, fabric lamp cord, floor lamp, lamp fix, Sundial Wire, torchiere, vintage lamp

20120913-100337.jpg

20120913-101642.jpg

20120913-101754.jpg

20120913-101822.jpg

20120913-101840.jpg

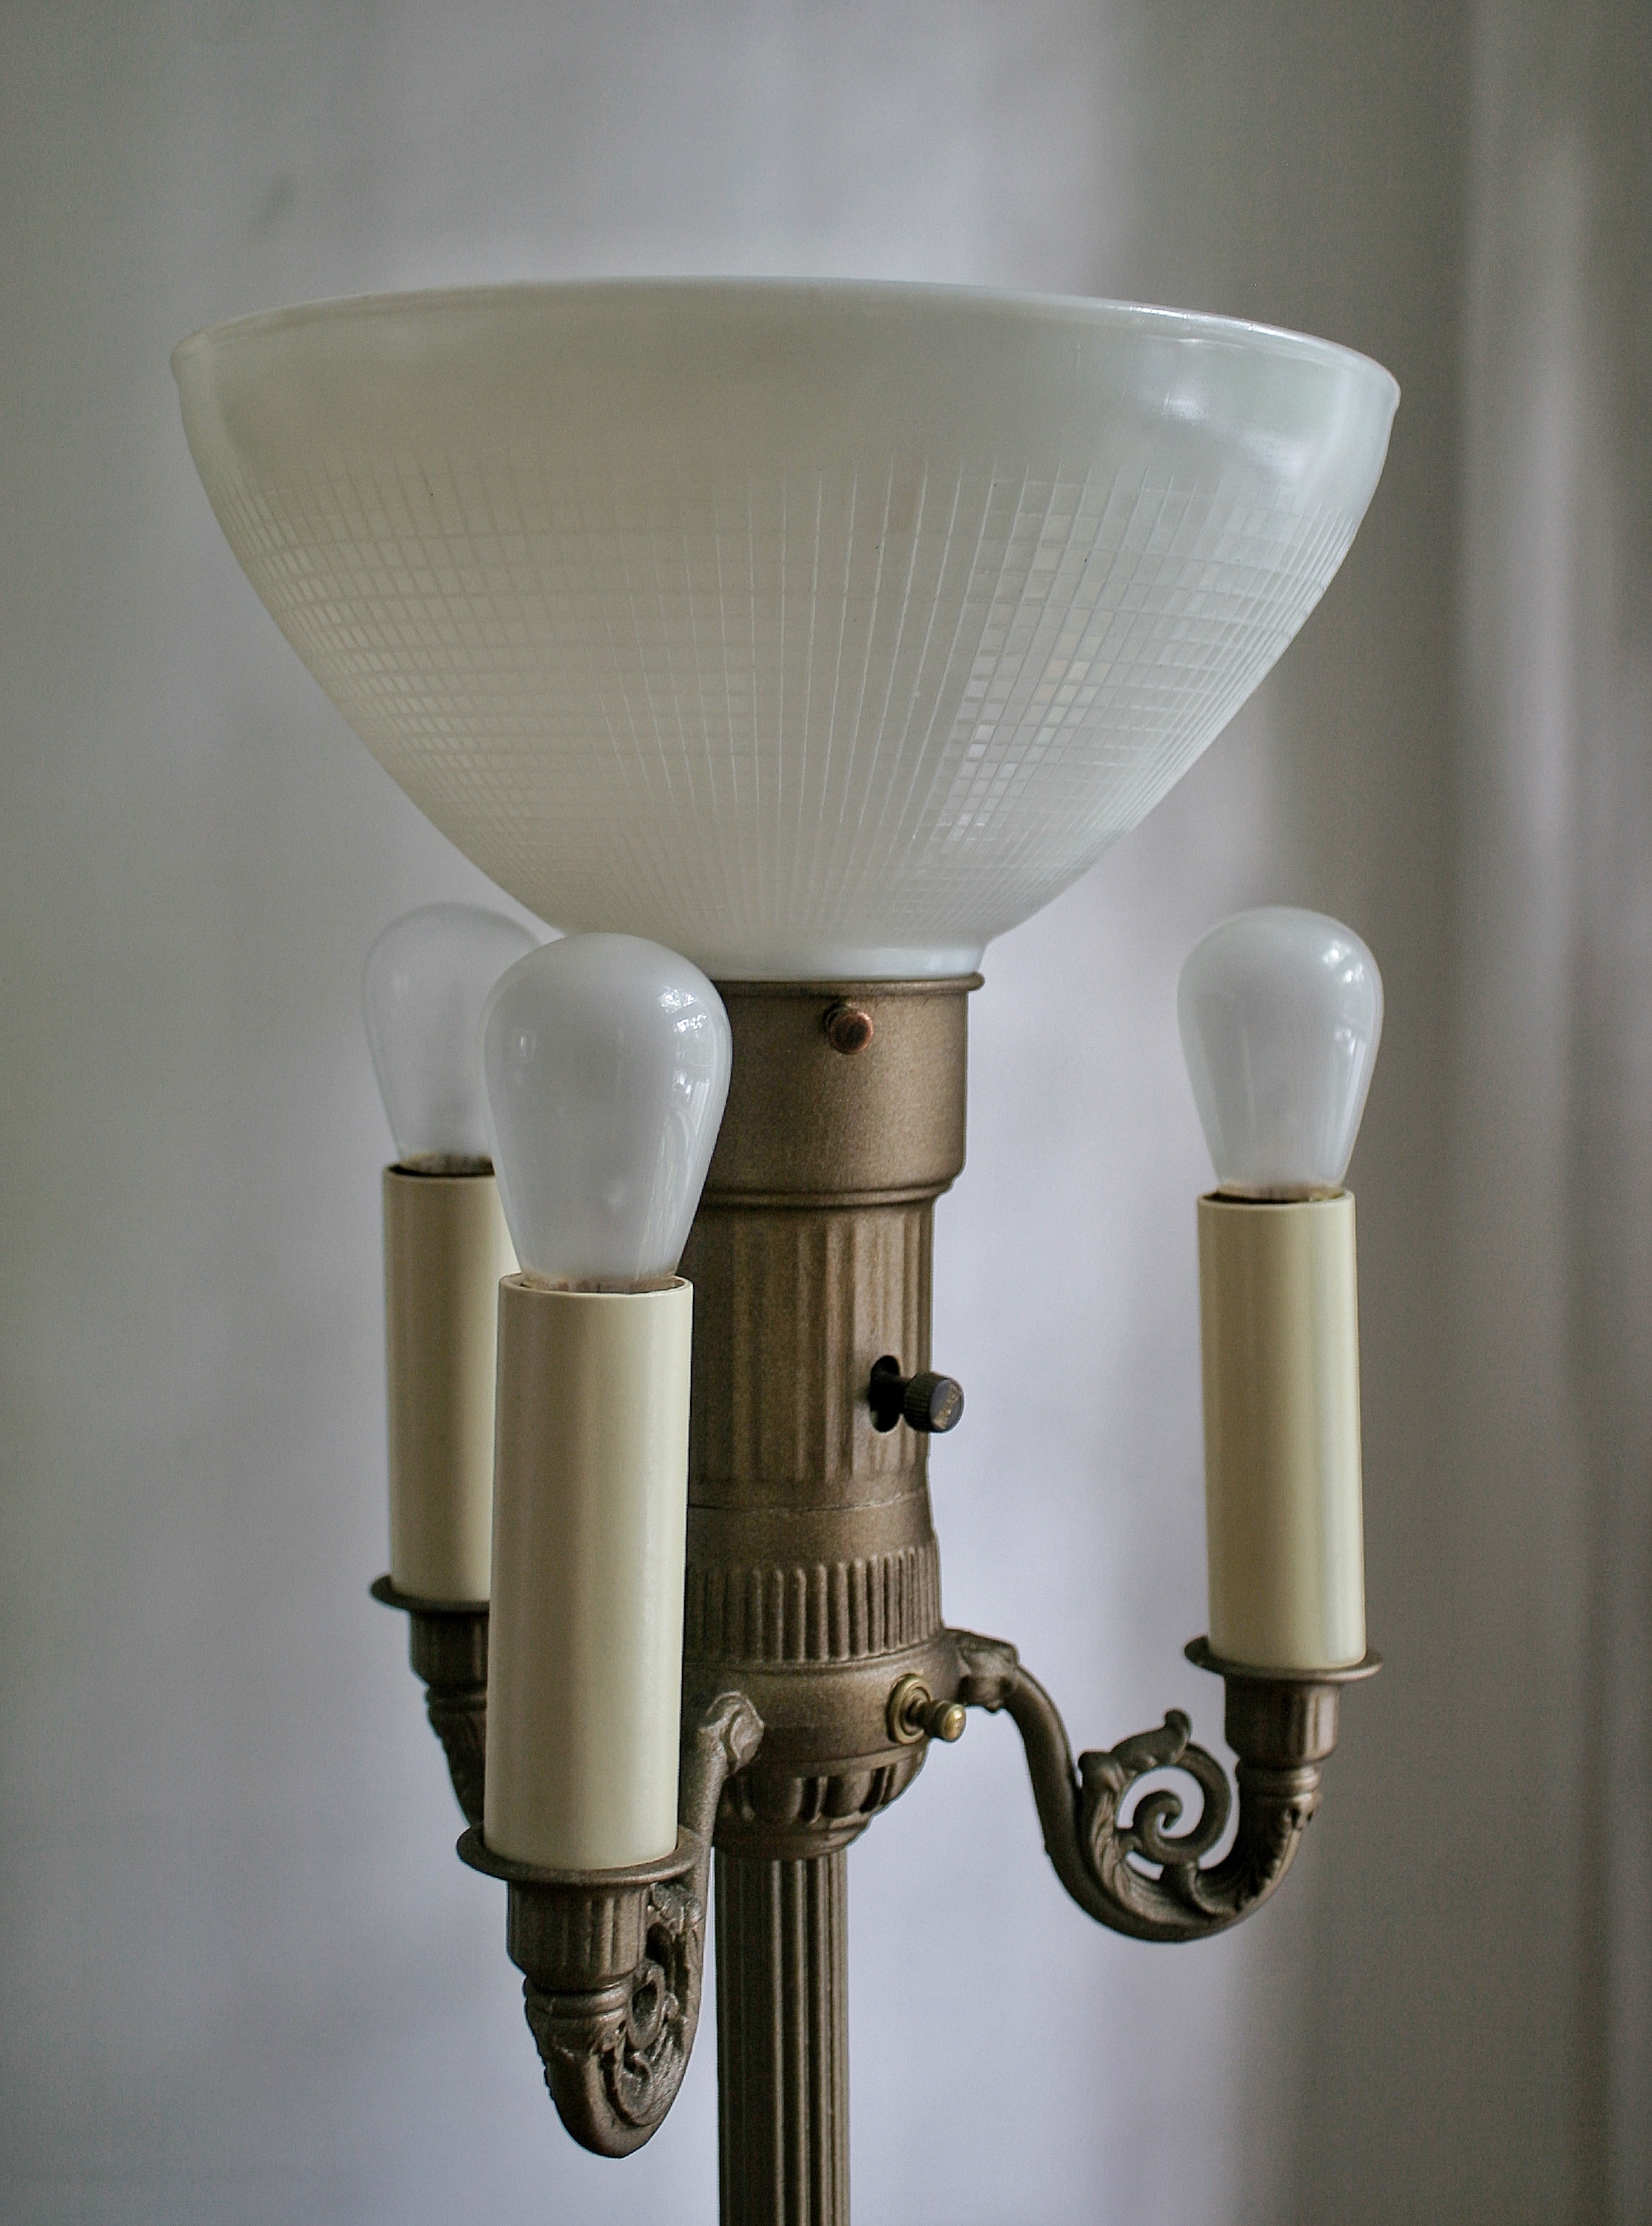
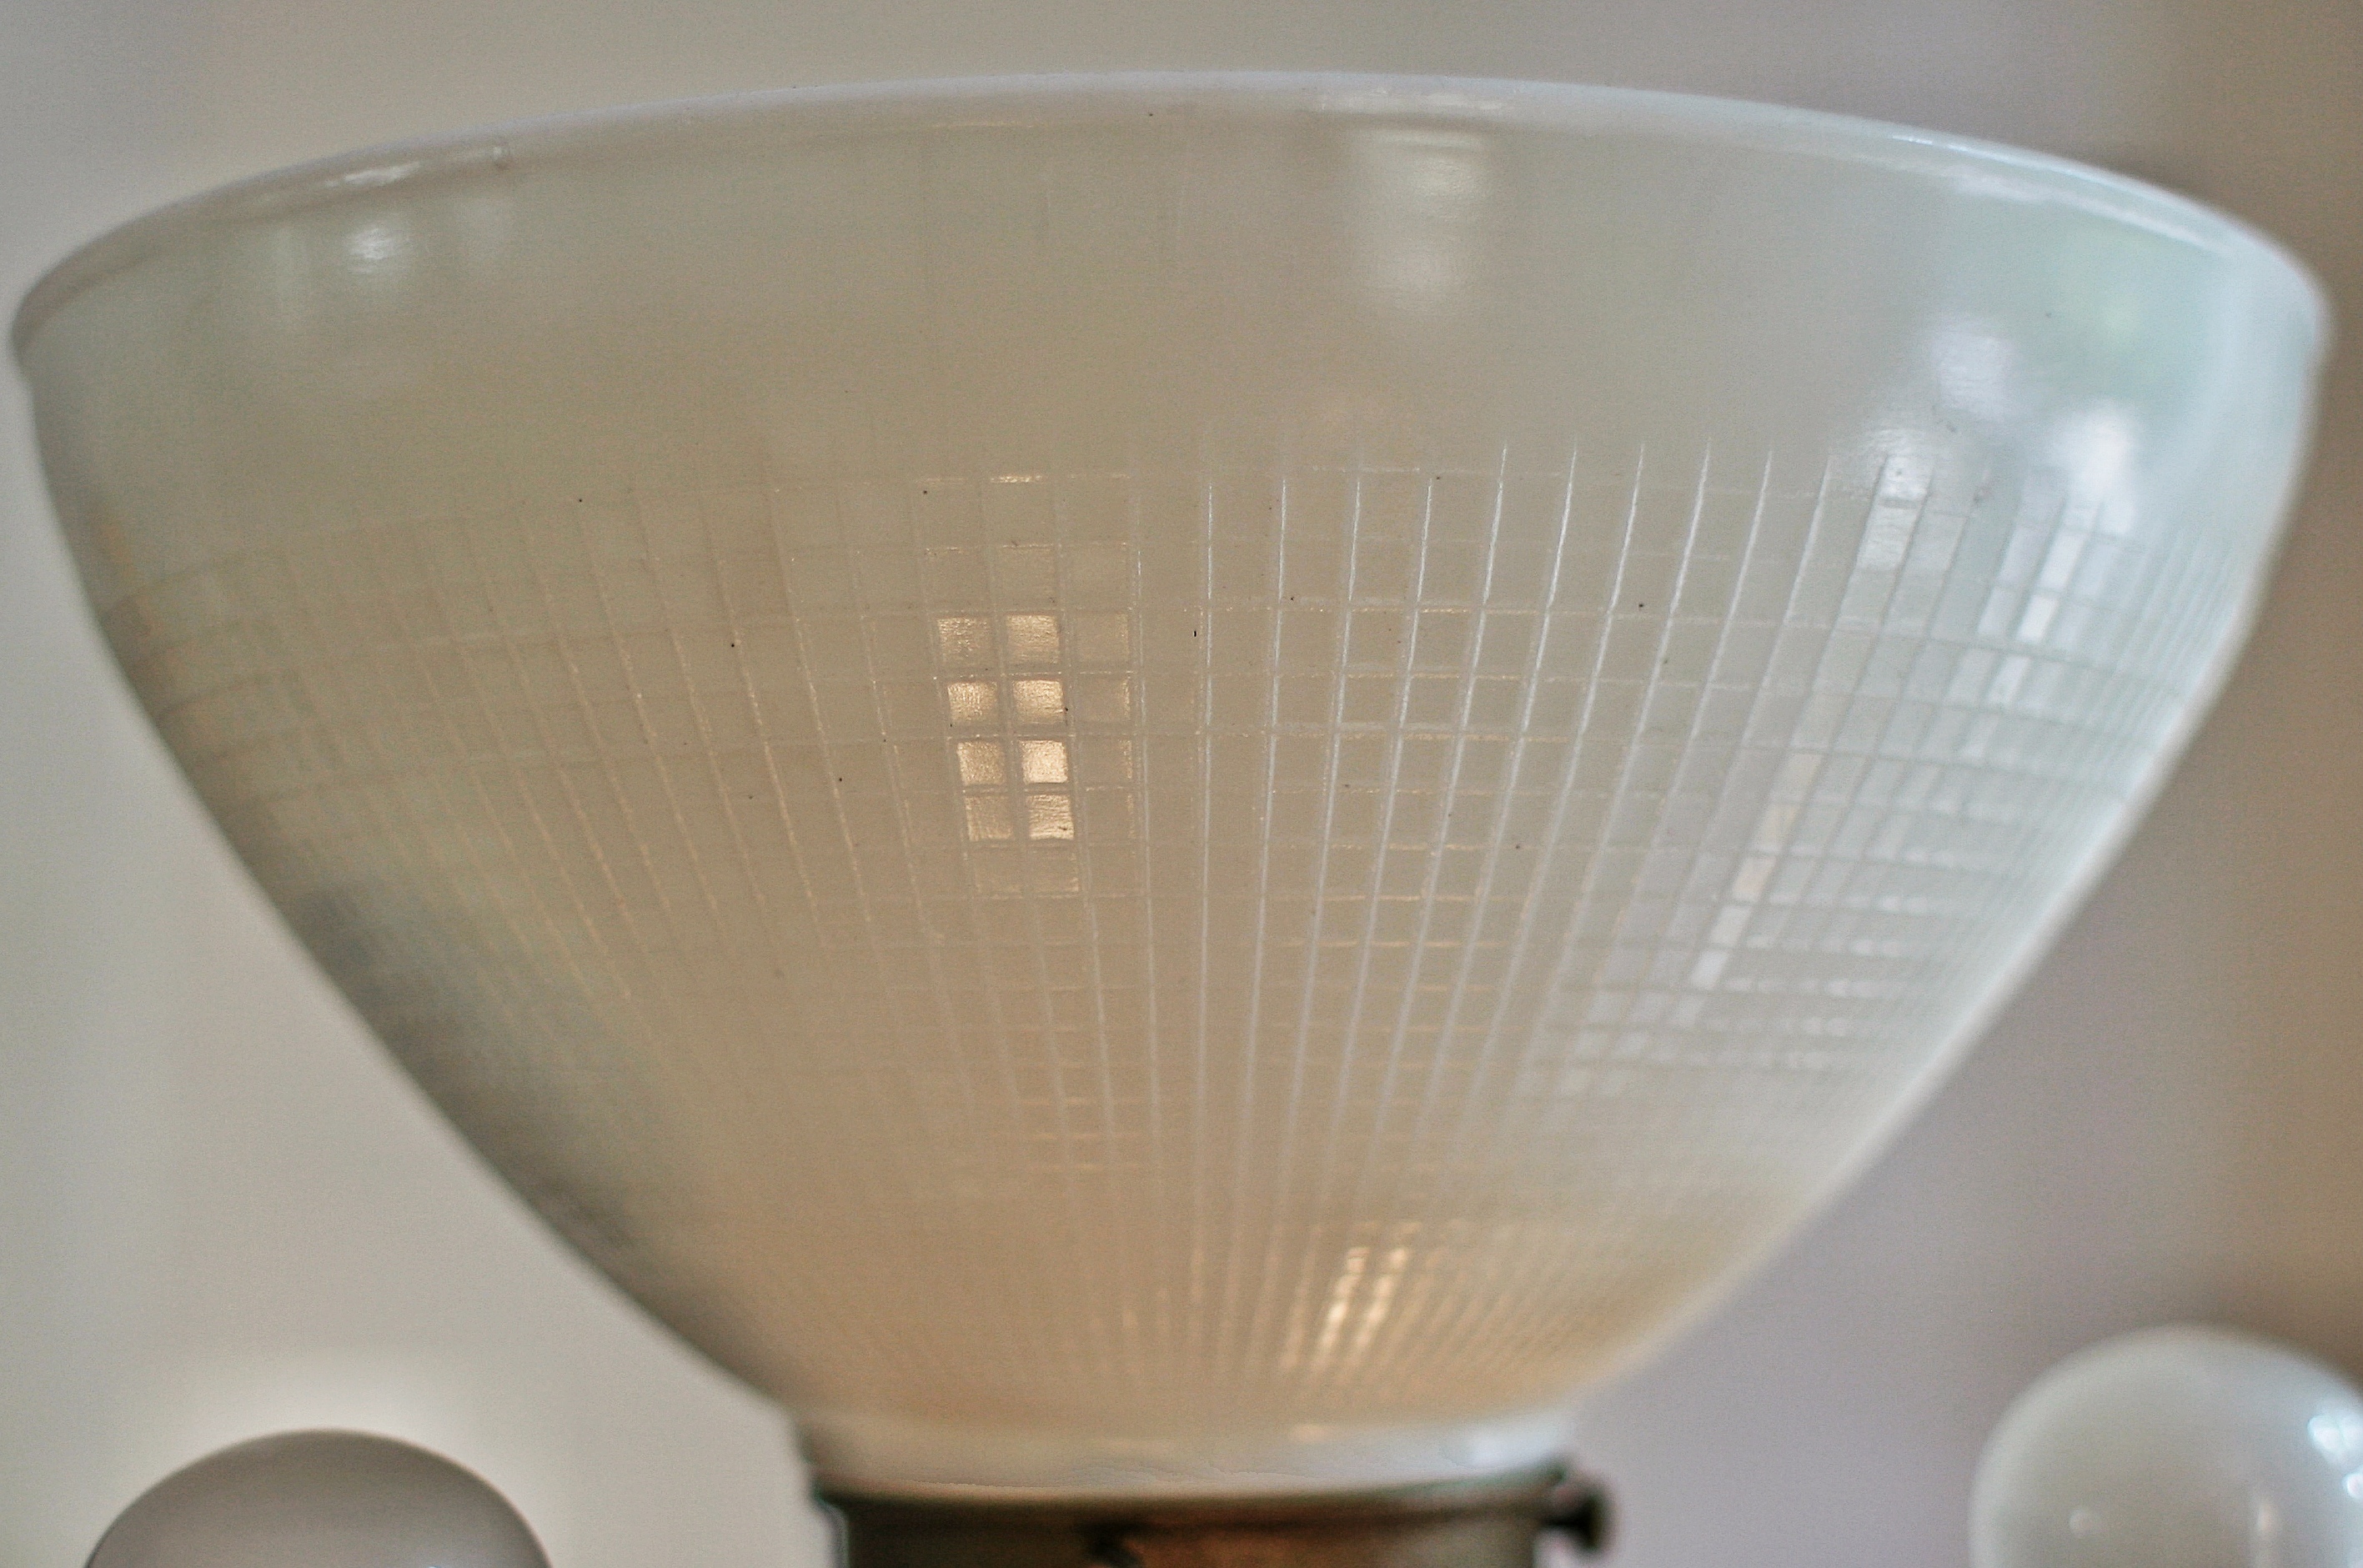
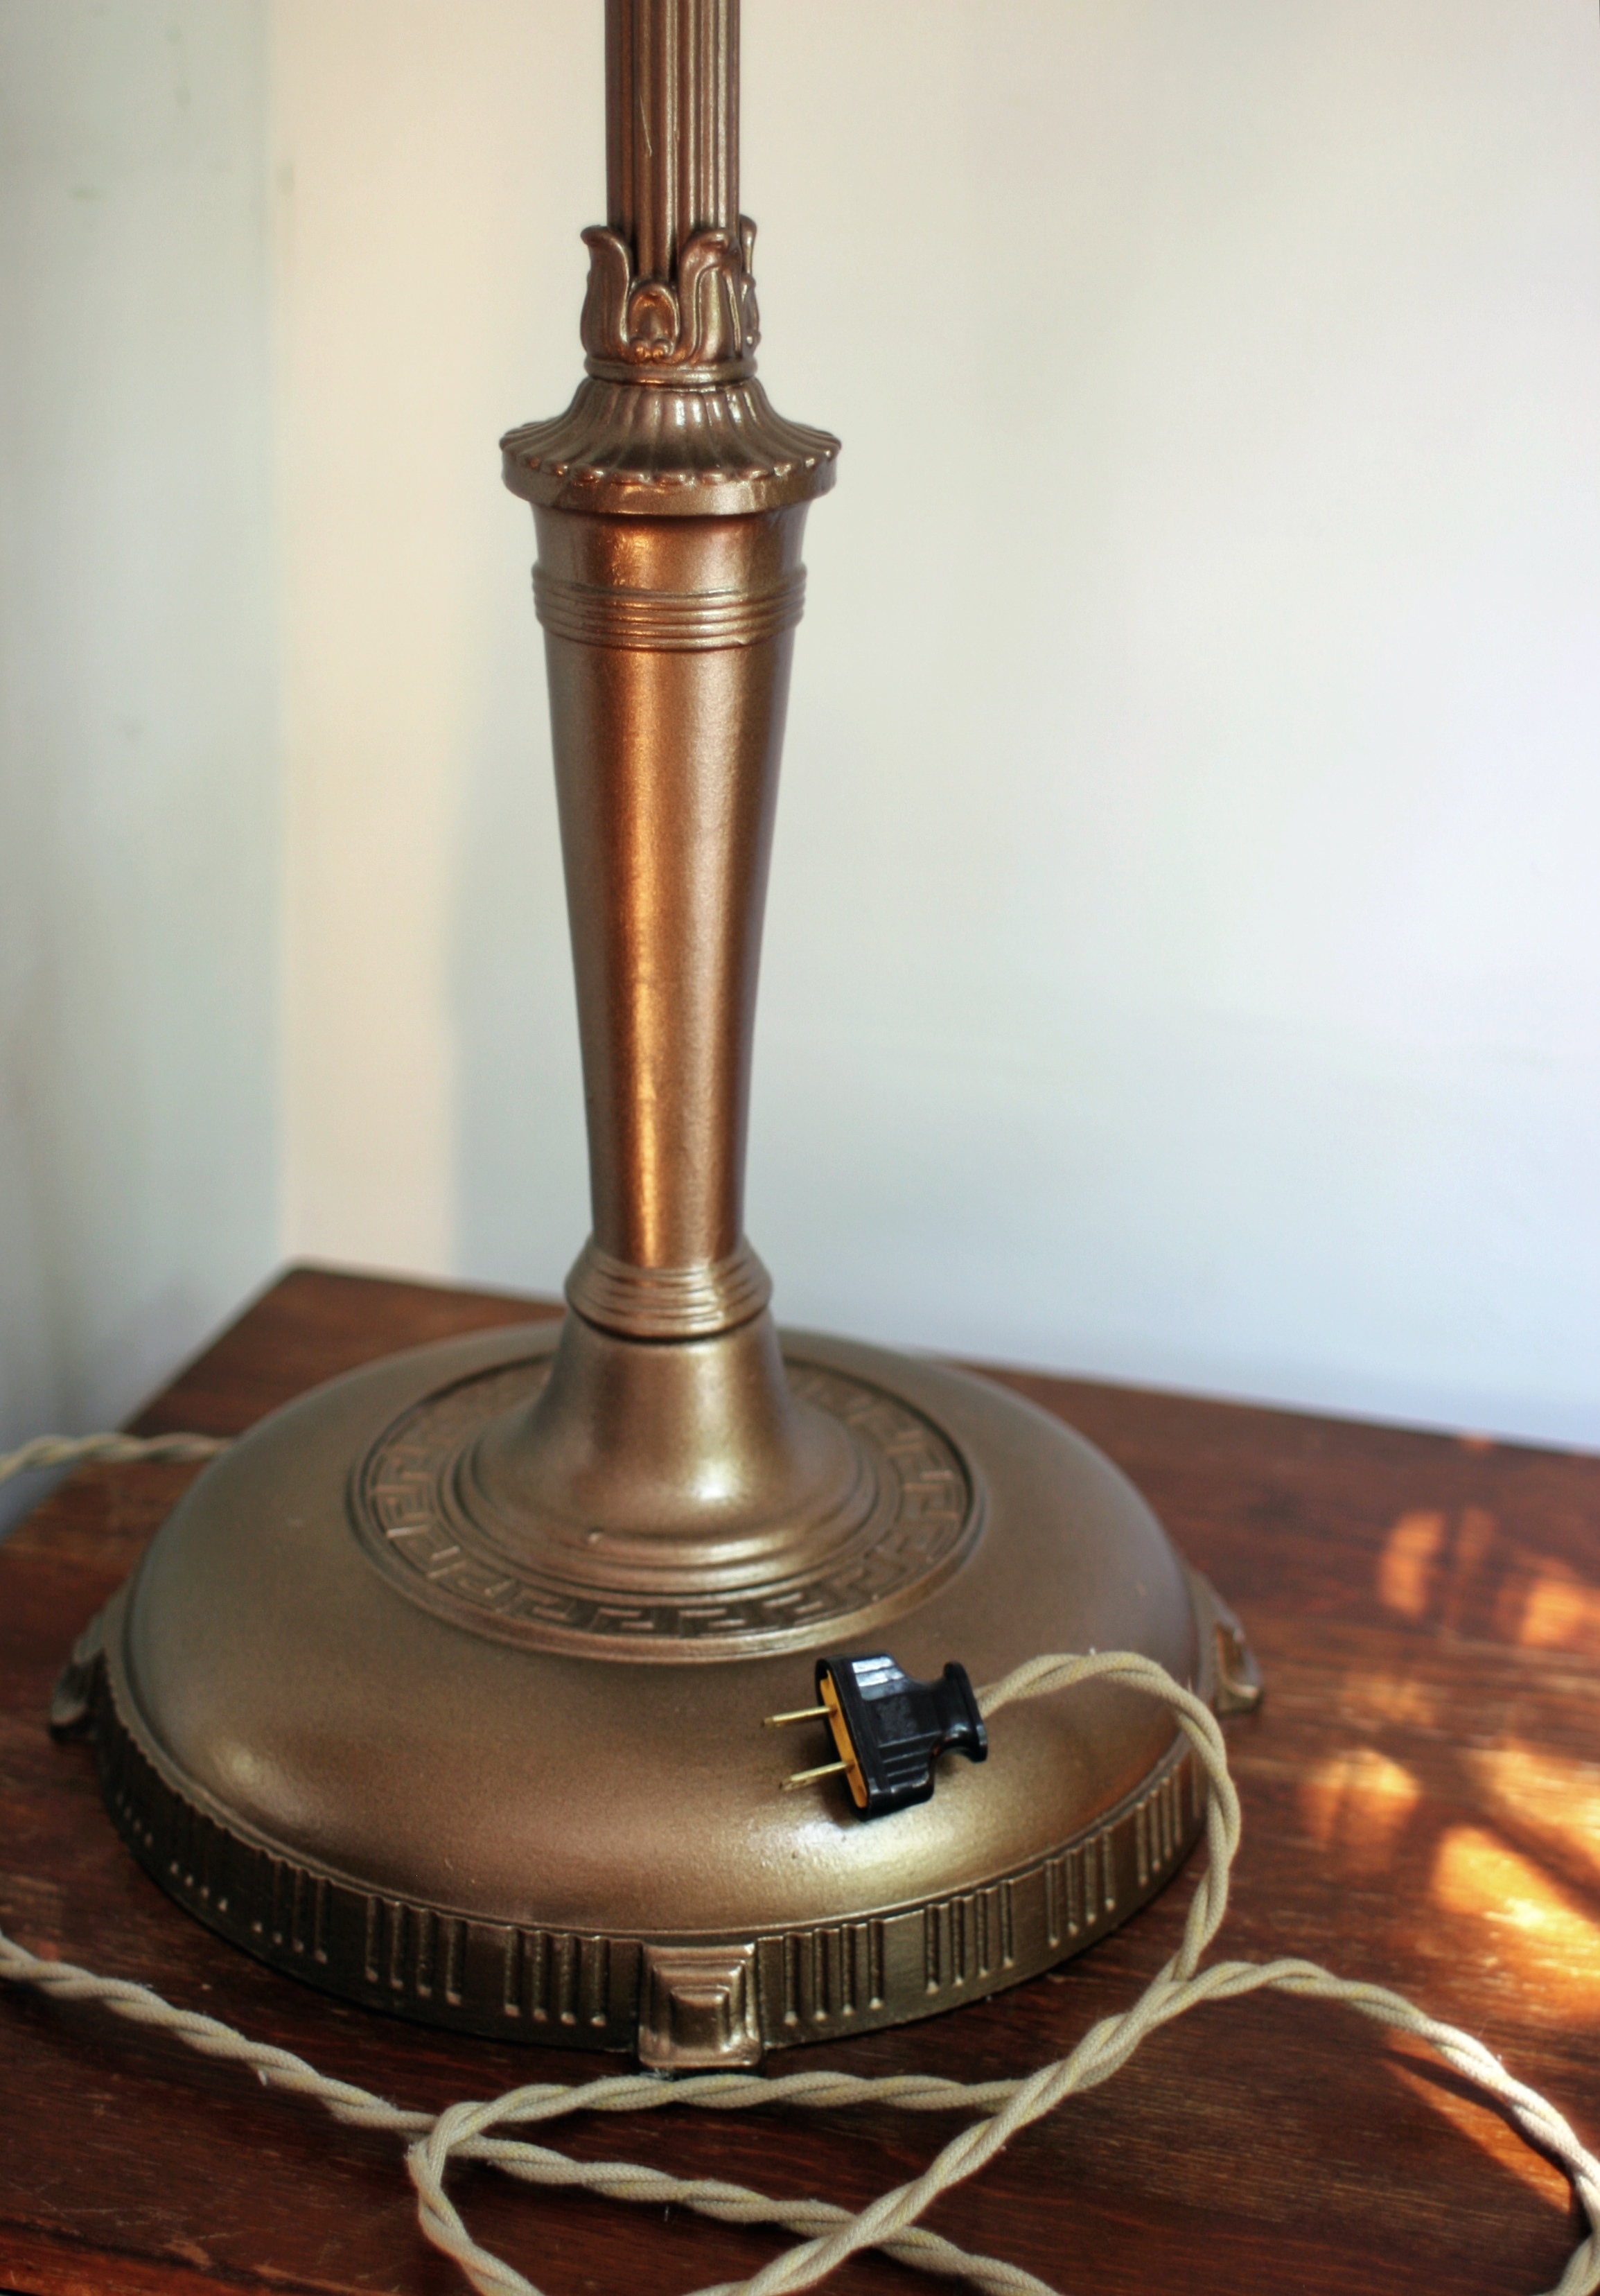
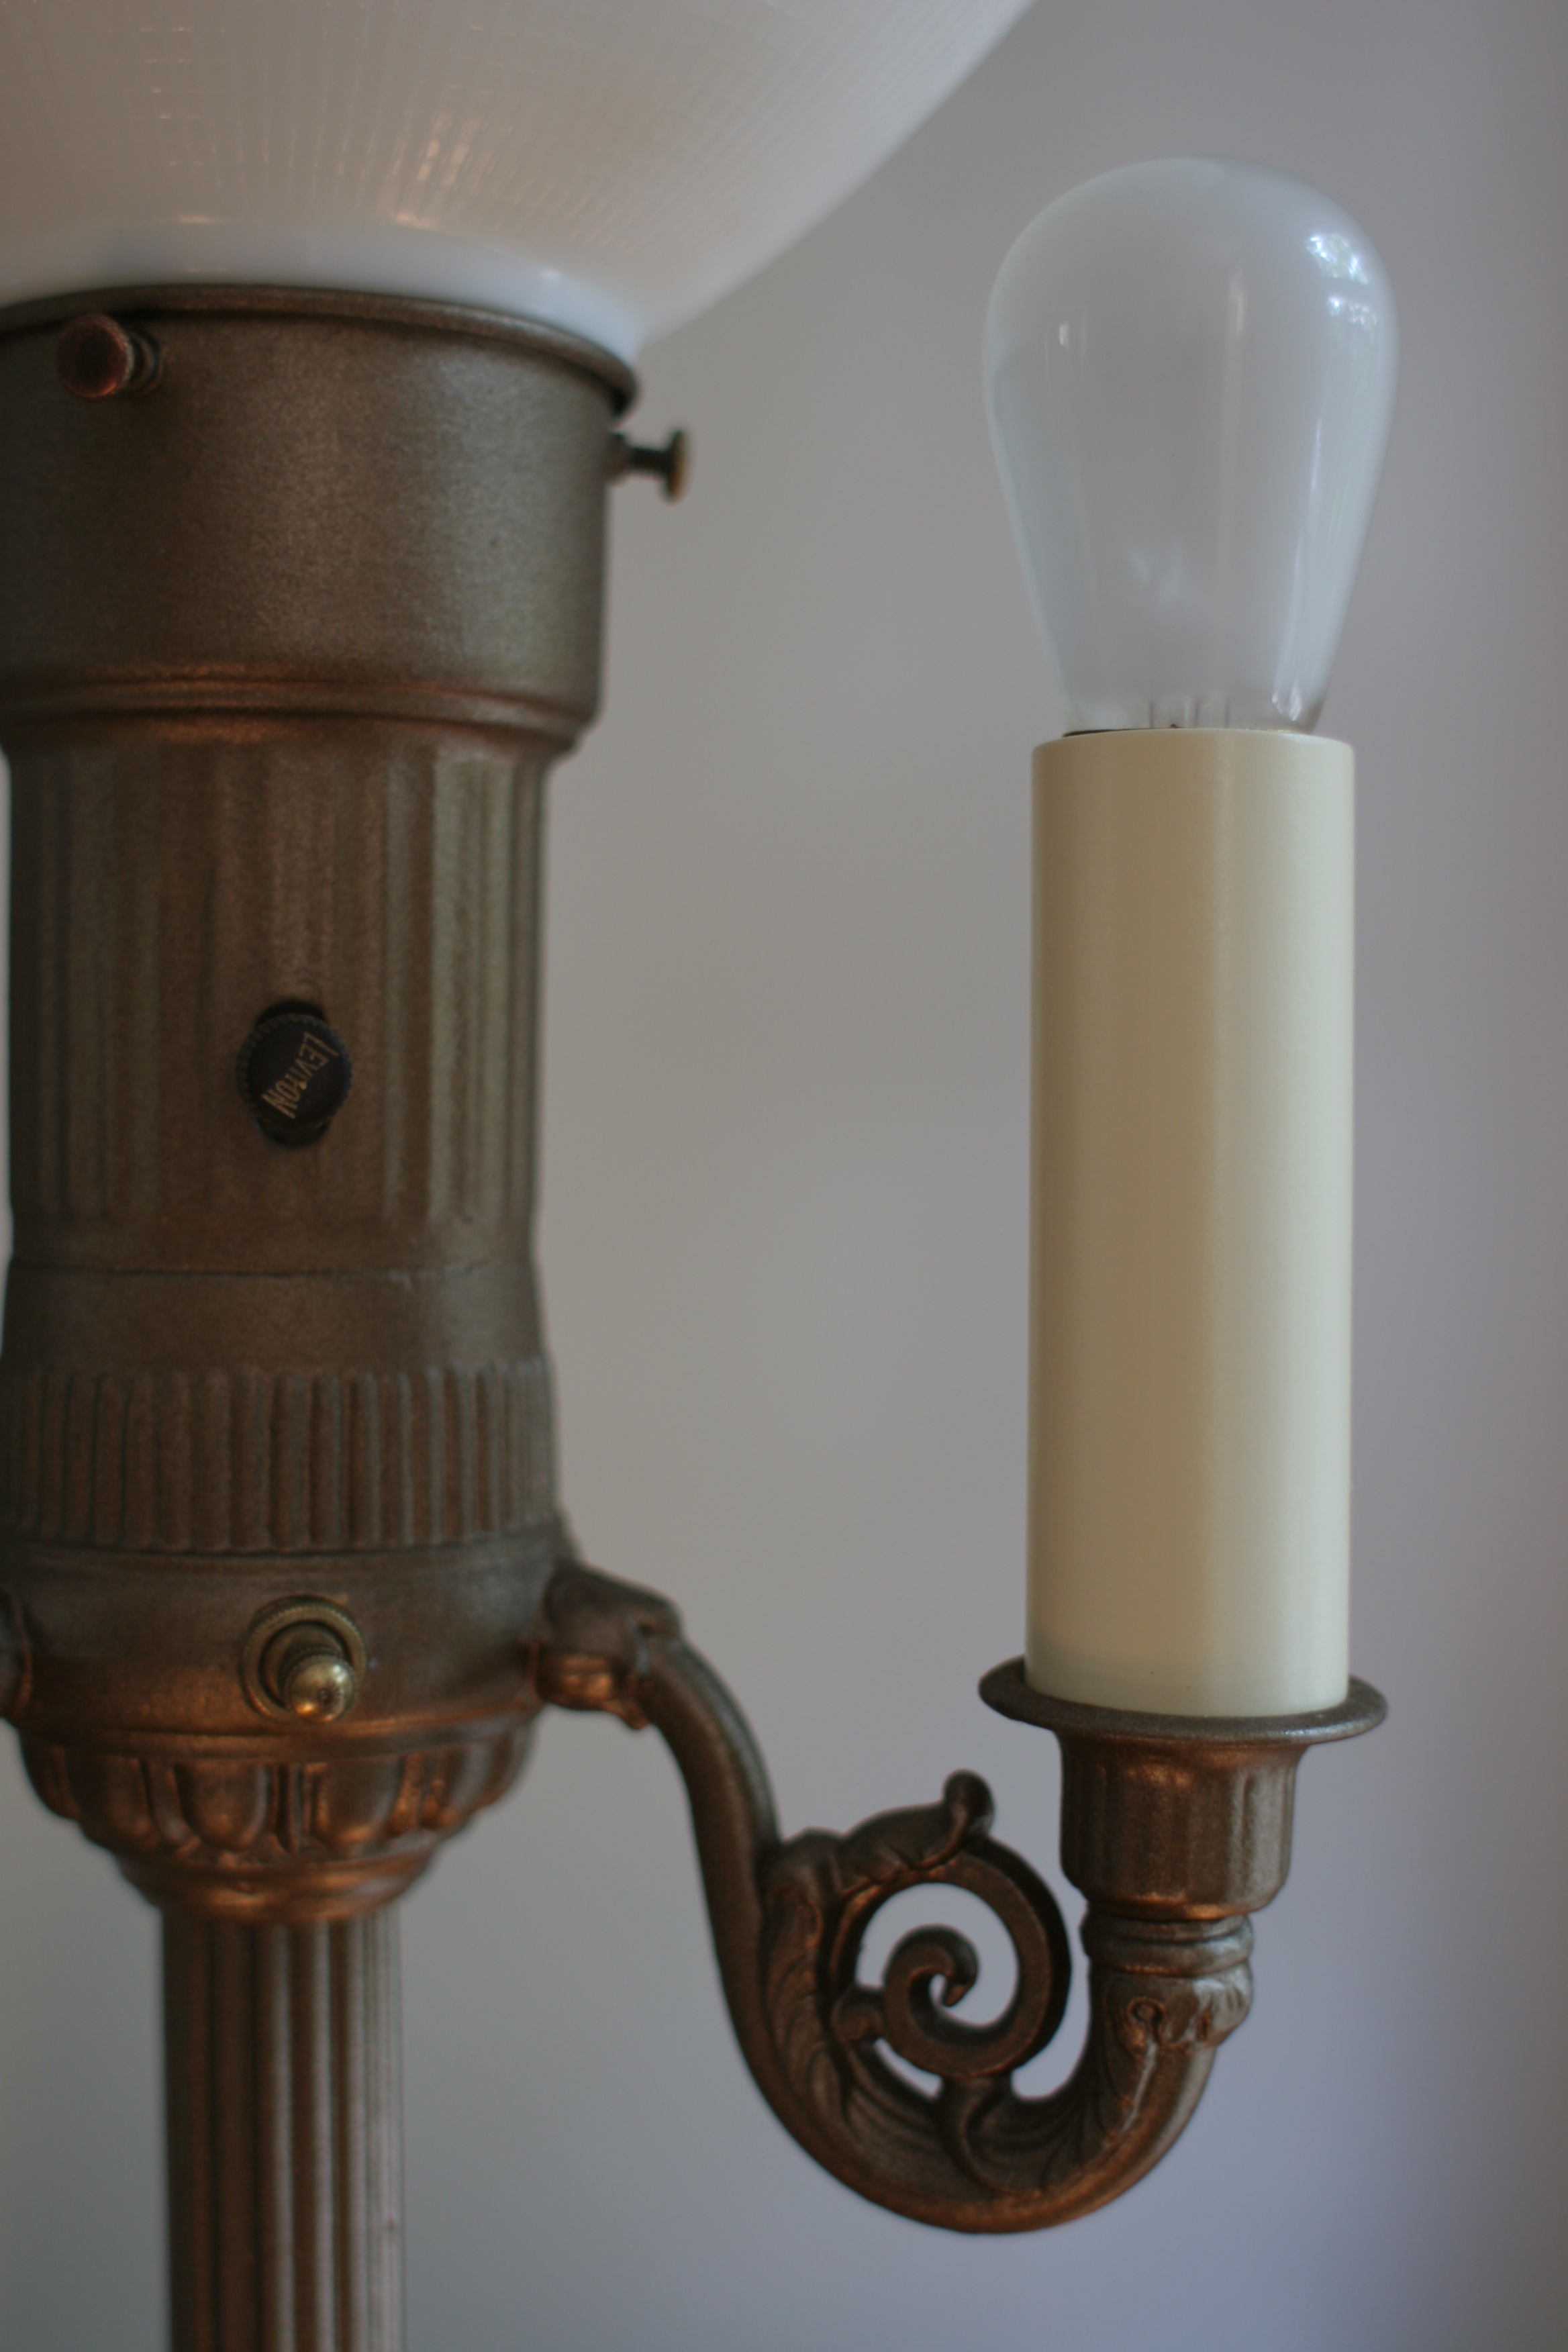
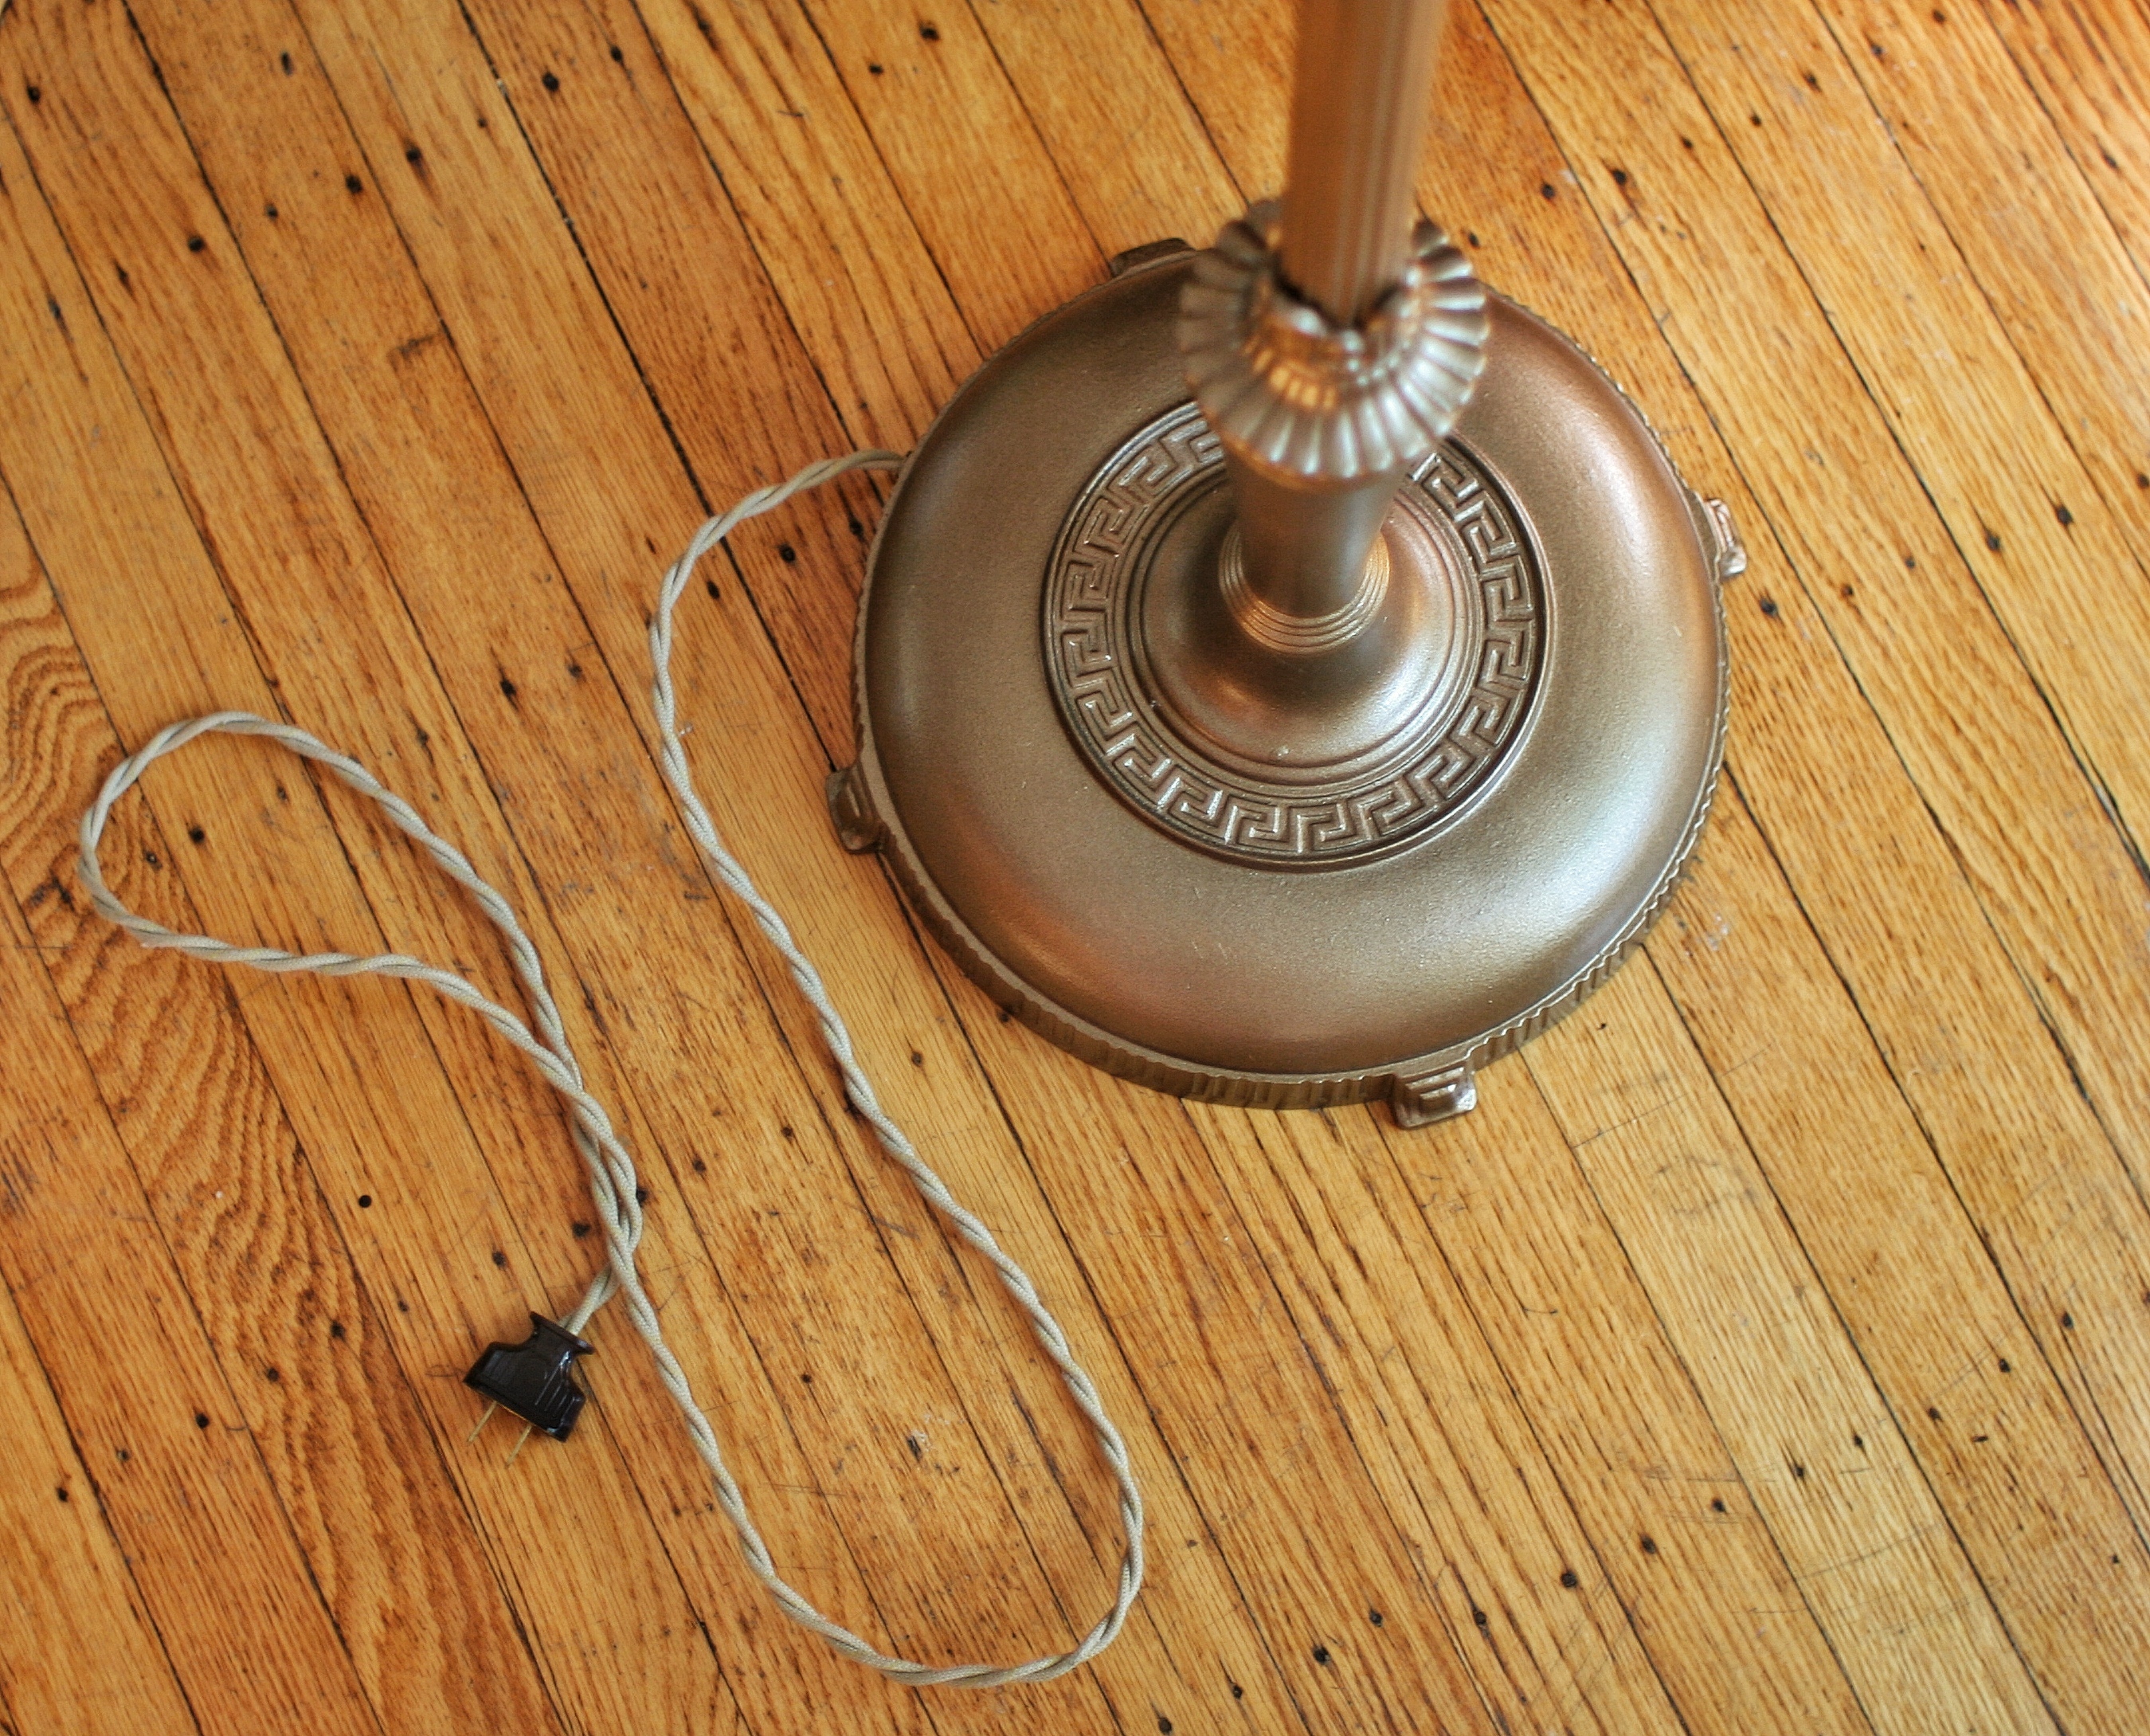
I found this lamp, in a sorry state for $10 at our local junk/treasure shop.  I loved its lines, but in needed some work.  (This was before Chris and I made our “No More Projects” vow to each other.  We both have lifetimes worth of projects and are trying to limit the new ones walking in our door…I am really bad at keeping this vow, but just for the record so is Chris).  This particular project involved rewiring with a vintage-look fabric cord, spray painting with this matte metallic, scoring a perfect glass torchiere shade for $3 at a stoop sale, replacing the candle sleeves and all four bulbs.  (If you are going to do your own lamp rehab and don’t feel confident wiring, you can purchase cord and bring it to a lamp repair shop).

We are both really happy with how the lamp turned out and it makes such pretty light now in the dining room. Kind of makes me give the junk shop projects a long second look…

20120913-163313.jpg

Share this:

  • Share on Pinterest (Opens in new window) Pinterest
  • Share on Facebook (Opens in new window) Facebook
  • Share on LinkedIn (Opens in new window) LinkedIn
  • Share on Tumblr (Opens in new window) Tumblr
  • Share on X (Opens in new window) X
Like Loading...

Wool Felt Coaster DIY

05 Wednesday Sep 2012

Posted by jeannerondeau in Projects, Shop, Vintage

≈ 1 Comment

Tags

diy, Etsy, felt coaster, home, home sewing, home style, lace doily, vintage doilies, wool felt, Wool Felt Central

20120905-214737.jpg

20120905-214809.jpg

20120905-214835.jpg

We made these wool felt coasters from some square lace doilies we found at the flea market. They are a simple cut and stitch project which requires very minimal sewing skills. Round doilies could be substituted if you have those. The simple X stitching we used will work for any shape, and a larger set of doilies would be great as trivets. To make the coasters you will need:
*Wool Felt (This is our favorite)

*Small Doilies

*Pinking Shears

*Straight Pins

*Sewing Machine

*Thread to Match Doilies

1. Cut felt into squares to match doilies using pinking shears.  (Our squares are 3 1/4″).

2. Iron doilies if needed.

3. Center each doily on top of a felt square and pin in place.

4. Using a zig-zag stitch, sew an X through each coaster as sewn.  Be careful to remove pins as you stitch and to not let the fabrics buckle.

5. Tie the stitch ends on the underside of felt and trim.

6. Make some cocktails!

Share this:

  • Share on Pinterest (Opens in new window) Pinterest
  • Share on Facebook (Opens in new window) Facebook
  • Share on LinkedIn (Opens in new window) LinkedIn
  • Share on Tumblr (Opens in new window) Tumblr
  • Share on X (Opens in new window) X
Like Loading...

DIY Shell Frame

28 Tuesday Aug 2012

Posted by jeannerondeau in Likes, Projects

≈ Leave a comment

Tags

beach vacation, diy, Fuji camera, home, instant photograph, kids at the beach, shell art, shell picture frame, shells, travel

The beach at Nag’s Head, NC was covered in tiny shells.  The kids spent one morning gluing collected shells onto little wooden picture frames.  We used our mini Fuji camera to add a photo.  Ada decided this one was my birthday gift, and it was just what I wanted.  To make your own shell frame you will need:

*Small Shells

*Wooden Picture Frame

*Elmer’s Glue

*Photograph

1. Wash sand from shells and dry thoroughly.

2. Have children glue shells to frame.

3. Glue in your favorite photograph and allow to dry.

4. Bring home the beach.

Share this:

  • Share on Pinterest (Opens in new window) Pinterest
  • Share on Facebook (Opens in new window) Facebook
  • Share on LinkedIn (Opens in new window) LinkedIn
  • Share on Tumblr (Opens in new window) Tumblr
  • Share on X (Opens in new window) X
Like Loading...

Library Card Birth Announcement

21 Tuesday Aug 2012

Posted by jeannerondeau in Likes, Projects, Shop

≈ 4 Comments

Tags

birth announcement, custom birth announcement, diy, Etsy, homebirth, Ilfant Press, letterpress, library card birth announcement, Lisa Hasegawa

We had these library card announcements custom made by Ilfant Press for Josie’s birth. Lisa Hasegawa at Ilfant worked with us to design the layout and then letterpressed the library cards by hand. I love letterpress! Josie (and Ada) were born at home so the library home address made us happy. We used photo corners to attach Josie’s picture and tied them with a bit of baker’s twine.

Share this:

  • Share on Pinterest (Opens in new window) Pinterest
  • Share on Facebook (Opens in new window) Facebook
  • Share on LinkedIn (Opens in new window) LinkedIn
  • Share on Tumblr (Opens in new window) Tumblr
  • Share on X (Opens in new window) X
Like Loading...

DIY Flower Ring Card

13 Monday Aug 2012

Posted by jeannerondeau in Likes, Party!, Projects

≈ Leave a comment

Tags

birthday party, card stock, child gift, diy, DIY card, flower card, free trade, Green Giraffe, Green in Brooklyn, recycled flip flop ring


We made this flower ring card for one of Ada’s friends. The flower centers are actually rubber rings that can be popped out and worn on little fingers. The flower ring makes a nice token for a ‘no gifts required’ party. (Ada really likes giving gifts). To make your own you will need:

*Card stock

*Two Rubber Rings (We got ours here. You can the same recycled flip flop rings here).

*Crayons or Markers

*Scissors with sharply pointed ends

1. Fold card stock in half.

2. Using the scissors, carefully punch two holes in the front of card. The holes should be big enough to just fit the loop of the ring and hold it snugly in place.

3. Draw flower petals around the openings.

4. Push rings into place.

Share this:

  • Share on Pinterest (Opens in new window) Pinterest
  • Share on Facebook (Opens in new window) Facebook
  • Share on LinkedIn (Opens in new window) LinkedIn
  • Share on Tumblr (Opens in new window) Tumblr
  • Share on X (Opens in new window) X
Like Loading...

DIY Clothespin Dolls

08 Wednesday Aug 2012

Posted by jeannerondeau in Uncategorized

≈ 2 Comments

Tags

clothespin dolls, crayon, diy, diy doll, felt, home, pipecleaners, scissors, toys for kids, wooden clothespin

Ada came up with this project.  I was going to make arms for the clothespins with the pipe cleaners and she decided they would make better clothes.  She cut out the felt blankets with her scissors and the girls used crayons to decorate the shells for beds.  To make your own you will need:

*Wooden Clothespins

*Pipe cleaners

*Felt

*Crayons

*Large Seashells

*Scissors (We used Safety Scissors)

*Permanent Marker

1. Draw eyes on the clothespin with the permanent marker.

2. Hand the clothespin over to the kids to dress.  (Help them bend the end of the pipe cleaner wire into the opening on clothespin).

3. Let kids decorate shells with crayons, and cut out blankets with safety scissors.  (Ada made sinks out of the spiral shells and beds out of the clams).

4. Store the clothespin dolls in a shoebox house or zipper pouch.

5. Enjoy some peace while the kids play with their new family.

Share this:

  • Share on Pinterest (Opens in new window) Pinterest
  • Share on Facebook (Opens in new window) Facebook
  • Share on LinkedIn (Opens in new window) LinkedIn
  • Share on Tumblr (Opens in new window) Tumblr
  • Share on X (Opens in new window) X
Like Loading...

Vintage Planter Baby Gift

12 Thursday Jul 2012

Posted by jeannerondeau in Likes, Shop, Vintage

≈ Leave a comment

Tags

baby gift, diy, Ebay, Etsy, flowers, new parent gift, plants, vase, vintage baby gift, vintage planter

This sweet little elephant vase was one the favorite gifts we were given when Ada was born.  (Thanks Aunt Marissa!)  Ada gets her own stem for it whenever we buy flowers.  You can find your own planter on Ebay or Etsy.  They are inexpensive and great to have on hand as gifts for new babies.

Share this:

  • Share on Pinterest (Opens in new window) Pinterest
  • Share on Facebook (Opens in new window) Facebook
  • Share on LinkedIn (Opens in new window) LinkedIn
  • Share on Tumblr (Opens in new window) Tumblr
  • Share on X (Opens in new window) X
Like Loading...

DIY Knitted Ice Cream

02 Monday Jul 2012

Posted by jeannerondeau in Likes, Projects

≈ 2 Comments

Tags

diy, diy knitted toys, free knitting pattern, I Like Lemons Blog, ice cream cone knitting pattern, knit ice cream, olive knitting pattern, play kitchen food, scrap yarn

Knitted cones from a free pattern at I Like Lemons.  I made these for my niece last year and used scrap yarns and seed beads.  They take only a couple of hours each, or less if you aren’t having to rewind skeins from toddler hands.  I always get the urge to knit during the hottest months, but luckily this project inspired some taste-testing to get the colors right.  I Like Lemons seems to have ended her posts, but there are more cute free patterns in the archives.  Her Olive and Ball projects are pretty amazing.  Etsy has a variety of knitted foods here if you would prefer to buy instead of knit.

Share this:

  • Share on Pinterest (Opens in new window) Pinterest
  • Share on Facebook (Opens in new window) Facebook
  • Share on LinkedIn (Opens in new window) LinkedIn
  • Share on Tumblr (Opens in new window) Tumblr
  • Share on X (Opens in new window) X
Like Loading...

DIY Fireworks on a Stick

28 Thursday Jun 2012

Posted by jeannerondeau in Likes, Party!, Projects

≈ 3 Comments

Tags

diy, fireworks, Forth of July children's activity, Forth of July decoration, Forth of July party, home, The Sweetest Occasion, tissue paper tassel, wooden dowel

My in-laws take Forth of July fireworks very seriously.  They even own a mini cannon that gets set off when the sun goes down.  I wanted to make some safe fireworks for the girls to run around with in the back yard.  These are made using a variation of The Sweetest Occasion’s Tissue Paper Tassel pattern and a wooden dowel.  The tissue paper fireworks make a nice hissing sound when shaken, cost us under $1 each to make,  and are legal in all 50 states.  To make your own you will need:

*Tissue Paper

*Wooden Dowel (ours are 36″ long and 3/8″ thick)

*Twine

*Tape

*Scissors

1. Layer a variety of colored tissue paper in a stack.  (Our large pink firework has 8 sheets, the green has 5 and the striped tissue is made from 2 pieces on each tassel). Play around with the colors and sizes you like.  The more sheets you add  the heavier the firework will be, so be sure not to outweigh the strength of your dowel.

2. Follow these directions to make each tassel, (Thank you TheSweetestOccasion). We used one tassel per dowel for the larger number of layers and two on the striped fireworks’ dowel.

3. Once each tassel is made tie twine around the neck of the twist for extra stength.

4. Loop a piece of twine through the hole and tie a knot in the center around tissue.  On each end of twine make another double knot.  This will prevent twine from slipping out from under the tape when shaken. (We used a thinner twine and layered it for strength.  If you have a thicker twine one piece will be fine).

5. Tape twine to dowel above knots as shown.  Be sure tape is tight and wrap around a few layers.

6. Let the celebration begin!

Share this:

  • Share on Pinterest (Opens in new window) Pinterest
  • Share on Facebook (Opens in new window) Facebook
  • Share on LinkedIn (Opens in new window) LinkedIn
  • Share on Tumblr (Opens in new window) Tumblr
  • Share on X (Opens in new window) X
Like Loading...

Doll Popsicle DIY

12 Tuesday Jun 2012

Posted by jeannerondeau in Likes, Projects

≈ 1 Comment

Tags

blanket stitch, diy, felt popsicles, kid popsicle, play food, summer, wooden craft sticks, Woolfeltcentral.com

These felt popsicles are made with mini wooden craft sticks and are just the right size for little hands.  Ada has been counting the days until popsicle season, so I decided to make her some for her play kitchen.  To make your own you will need:

*Variety of Felt in Popsicle Colors (This is my favorite source for wool felt)

*Mini Craft Sticks (Amazon has some here)

*Stuffing

*Embroidery Floss

*Large-eyed Needle

*Scissors

*Card Stock

*Pencil

*Felt-tipped pen or chalk

*Glue

1. Draw a popsicle shape on card stock and cut out.  Our popsicle pattern is about 3″ x 1.5″.

2. Fold felt in half and trace pattern onto felt using pen or chalk.  (Or just hold pattern onto felt and carefully cut around it).

3. Cut out two popsicle shapes from each color.

4. Glue craft stick to the inside of one of the felt pieces.

5. Put a small amount of stuffing on top of the felt and lay the second popsicle half on top.

6. Using the embroidery floss, blanket stitch around the edges of popsicle beginning at one edge of the craft stick.

7. When you get to the other edge of the craft stick tie off stitch and secure with a small bit of glue.  Use the needle to thread floss inside popsicle and cut off the end.

Share this:

  • Share on Pinterest (Opens in new window) Pinterest
  • Share on Facebook (Opens in new window) Facebook
  • Share on LinkedIn (Opens in new window) LinkedIn
  • Share on Tumblr (Opens in new window) Tumblr
  • Share on X (Opens in new window) X
Like Loading...
← Older posts
Newer posts →

Visit Our Etsy Store

Etsy Store Instagram

No Instagram images were found.

Categories

  • Brooklyn
  • Inspiration
  • Likes
  • Organizing
  • Our Etsy Store
  • Party!
  • Projects
  • Shop
  • Uncategorized
  • Vintage

Recent Posts

  • Visit Us at the Brooklyn Flea!
  • Inspiration
  • Inspiration
  • Winter Whites
  • Ocean Grove, NJ

Archives

Enter your email address to follow this blog and receive notifications of new posts by email.

Join 179 other subscribers

Blogs I Read

  • A Beautiful Mess
  • Anthology Magazine
  • Apartment Therapy Family (Ohdeedoh)
  • Bleubird Vintage
  • Katie's Pencil Box
  • Le Dans La
  • Making it Lovely
  • Oh Happy Day!
  • Oh My Little Dears
  • Purl Bee
  • Soulemama
  • Sweet Paul Magazine
  • The Sweetest Occasion
  • You Are My Fave

Copyright

All content is © 2010-2018 Jeanne Rondeau. Please do not copy or take images or content from this site without my permission. Requests may be sent to: jeanne@jeannerondeau.com Thank you!

Meta

  • Create account
  • Log in
  • Entries feed
  • Comments feed
  • WordPress.com

Blog at WordPress.com.

Privacy & Cookies: This site uses cookies. By continuing to use this website, you agree to their use.
To find out more, including how to control cookies, see here: Cookie Policy
  • Subscribe Subscribed
    • Domesticspace
    • Join 179 other subscribers
    • Already have a WordPress.com account? Log in now.
    • Domesticspace
    • Subscribe Subscribed
    • Sign up
    • Log in
    • Report this content
    • View site in Reader
    • Manage subscriptions
    • Collapse this bar
 

Loading Comments...
 

    %d